The first thing to do when you create a new request is to give it a name.
You can do it in the text box titled Give this Request a name — it’s the first thing you’ll see on the Essentials page. If you use one of our built-in templates, the system will keep the default name unless you change it.
While you can name requests however you like, we recommend using a naming convention that makes it easy to organize your requests.
Here are some examples:
- Project Name
- Client Name — Project Name
- Client Code — Project Name
Bear in mind that the request name is visible to your clients. You can also use the request name as a placeholder in emails.
Request instructions
Instructions are the first thing your client will see when they open the request — think of it like a welcome page. Use this area to let them know:
- Who you are
- What the request is for
- Provide some simple instructions on how to use Content Snare
If your client already knows Content Snare and doesn’t need an introduction to it, you can use the switch to disable request instructions. We generally do not recommend this.
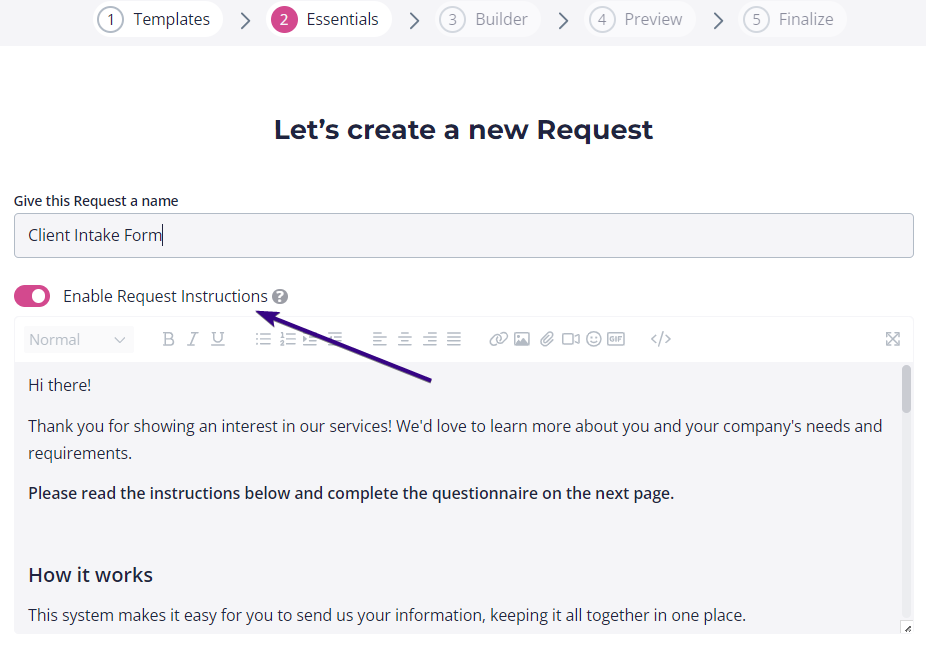
Each Content Snare template offers some general request instructions. If you need more than that, feel free to modify them (in fact, we recommend that you do). You can add text, images (such as your logo), and a video to create a more personal experience.
| Pro tip: Custom branding ensures a better client experience. Read this article to learn more. |
Request Owner
The request owner is the team member responsible for a given request within your organization. This option enables assistants or coworkers to create requests on someone else’s behalf.
This user will receive all of the corresponding communication, notifications, and emails associated with that request and its progress. Reminder emails sent to clients will also come from this person.
| Note: Some options are hidden by default — like changing request owner and folder. Click Show advanced settings to display them. |
When creating a request, it will default to the current user. Alternatively, you can attribute it to somebody else on the team by selecting their name from the drop-down menu.

It also helps you and your team filter requests by owner on the requests dashboard.
Folders
Folders are an optional way to organize your requests.
If you don’t want to use them, just leave all requests in the Default Folder. But if you’re frequently sending requests, folders make it easier to find requests again in the future. For example, you can split folders by:
- Project type
- Specific process
- Year
- Client group
However, you can also do it any other way you like — it’s optional.
| Pro tip: Folders can be used to organize files uploaded into integrations. |
To create a folder, click the drop-down menu and select Create new folder.
