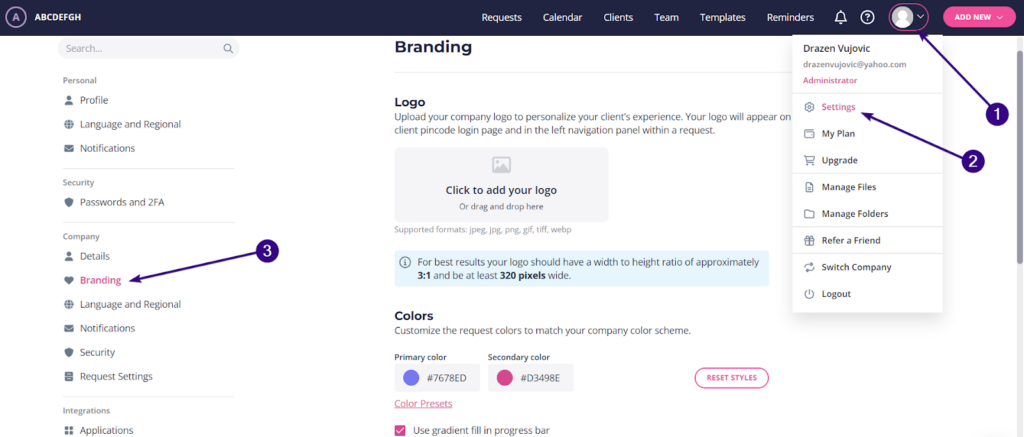
It’s possible to set up your brand logo and colors at any time. To do that, click the avatar icon in the upper-right corner and choose Settings from the drop-down menu. Then you’ll see Company → Branding on the left side of the dashboard:
| Note: Custom branding is not available in the Basic plan, but you can activate it by upgrading to Plus, Pro, or Custom. Here’s how to change your Content Snare plan. |
Adding a logo
To add a company logo, click the gray box to upload the file or simply drag and drop it there:
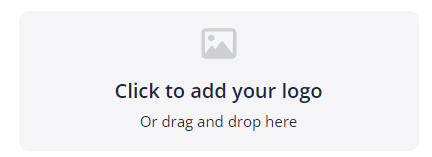
The system supports jpeg, jpg, png, gif, tiff, and webp formats. For best results, your logo should have a width-to-height ratio of approximately 3:1 and be at least 320 pixels wide.
Once added, your logo will appear on the client pin code login page and in the left navigation panel within a request. You can see an example of what your requests should look like.
Setting brand colors
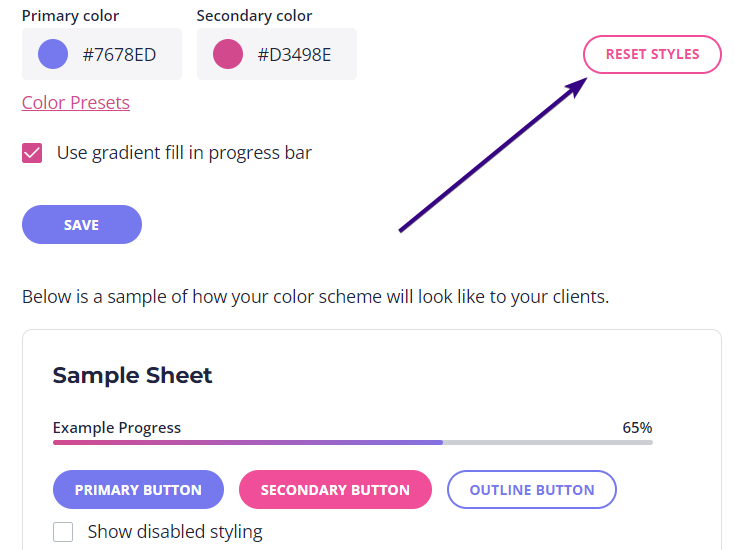
It’s also possible to customize request colors to match your company’s color scheme. To do that, click on the color rectangle to change the primary and secondary brand colors:

Once selected, you’ll see a preview of how your color scheme will look to your clients. If the colors you choose don’t look good in the progress bar as they blend into each other, you can disable the option Use gradient fill in progress bar by unticking the box.
After that, click the Save button to confirm changes.
| Note: The text color on buttons is automatically selected based on how dark or light your chosen color is. The system also shows a warning if you pick a color that is too light and difficult to see on the white background. |
Should you wish to restore the default settings, click Reset styles next to the color rectangles: