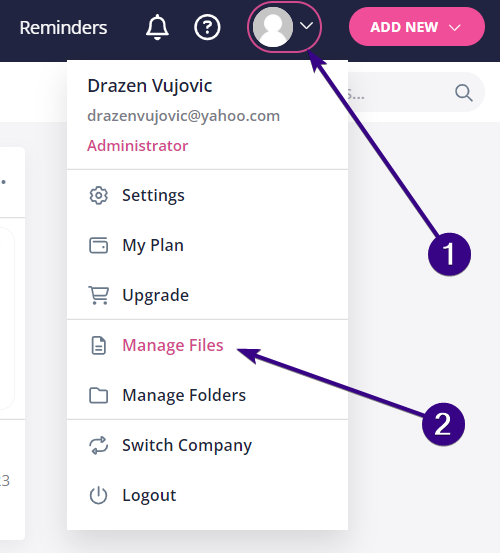
Content Snare allows you to view and manage the files that clients have uploaded to your requests. To do that, click the avatar in the upper-right corner and choose Manage Files from the drop-down menu:
Once there, you will see all of your clients’ files along with these details:
- File name
- The request it originates from
- Request status
- Request owner
- Client name
- Client company
- File size
- File type
- The upload date
A few more options are available if you click the dotted area on the right:
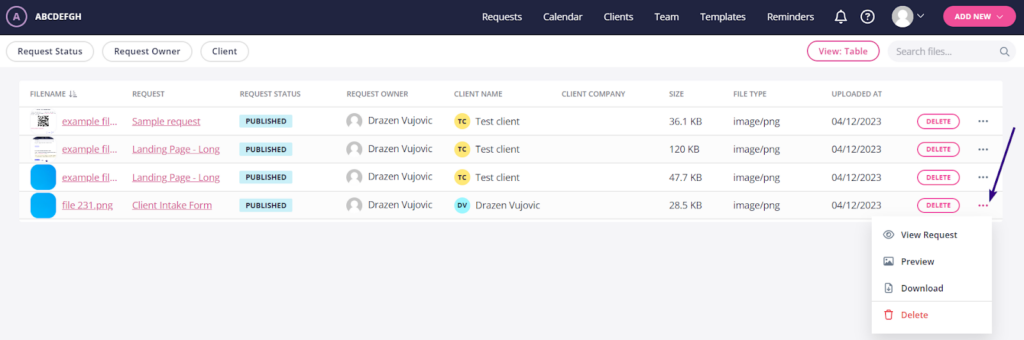
- View the request the file originates from
- Preview the file
- Download the file
- Delete the file (also available as a separate button next to the dotted area)
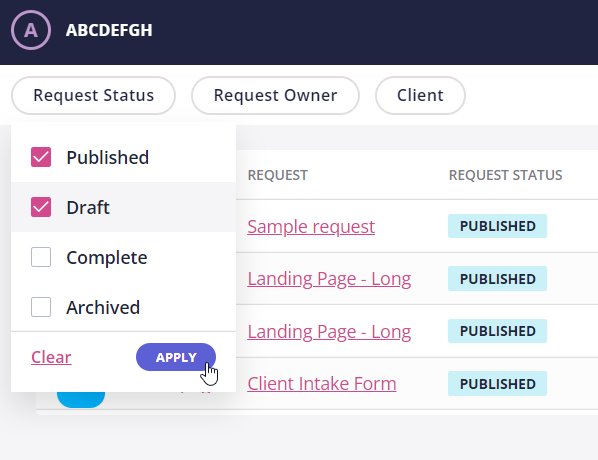
Searching and filtering files
It’s possible to find a file through the search box in the upper-right corner. Should you wish to filter through documents, you can do it based on three parameters:
- Request Status: Published, Draft, Complete, Archived
- Request Owner
- Client
File renaming
If clients upload files with unclear or inconsistent names, you can rename them automatically before exporting. This helps keep downloaded files organized and makes it easier to find documents later, especially when working with multiple clients or requests.
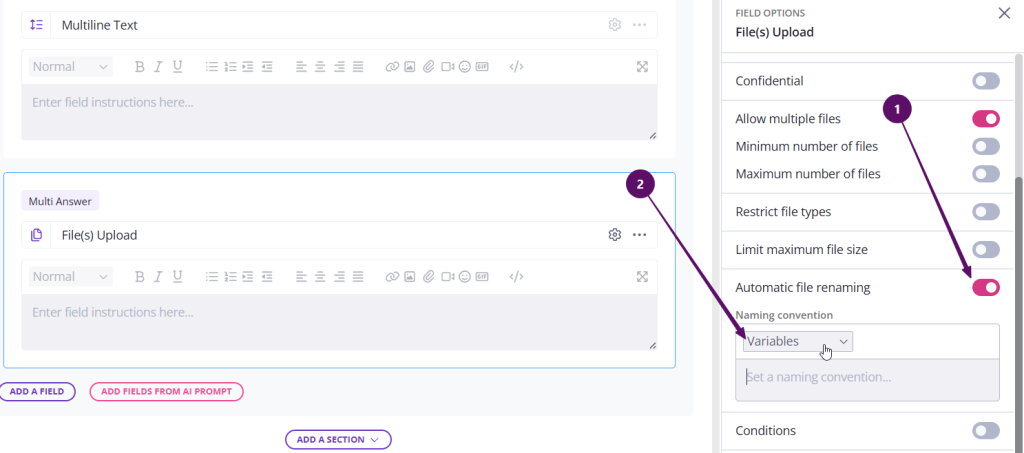
To enable automatic file renaming:
- Open the File(s) upload field in your request template
- In the right-hand panel, scroll to Automatic file renaming
- Turn the toggle on
- Use the available variables to build your naming convention
For example, you can combine variables such as Current Date and Client Name to make sure uploaded files follow a consistent naming structure automatically.
| Note: You can also manually rename uploaded files directly in the request interface before exporting them if needed. |
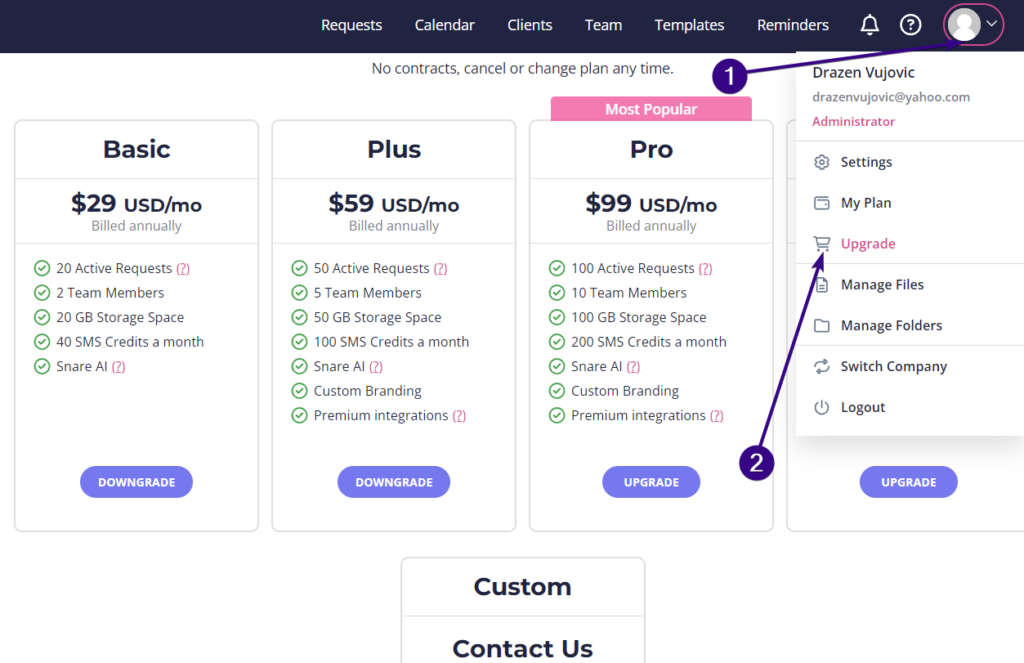
Storage space management
Each plan in Content Snare comes with a certain amount of storage space for all of your files as a collective. The plans and their corresponding limits are as follows:
- Basic: 20GB
- Plus: 50GB
- Pro: 100GB
- Large: 200GB
- Custom: Unlimited
If you run out of storage, you will need to delete some files to free up space for new ones or upgrade to a higher plan. To upgrade, click the avatar in the upper-right corner and go to Upgrade from the drop-down menu. Once there, choose a plan that suits your needs before being redirected to the subscription billing page: