Content Snare helps onboard clients and makes it easy to collect the documentation you need at tax time.
By integrating Content Snare with SuiteFiles, it will automatically upload completed client forms and all their documents to a folder in SuiteFiles.
Here’s how to set it up.
Step 1: Create a Content Snare folder in SuiteFiles
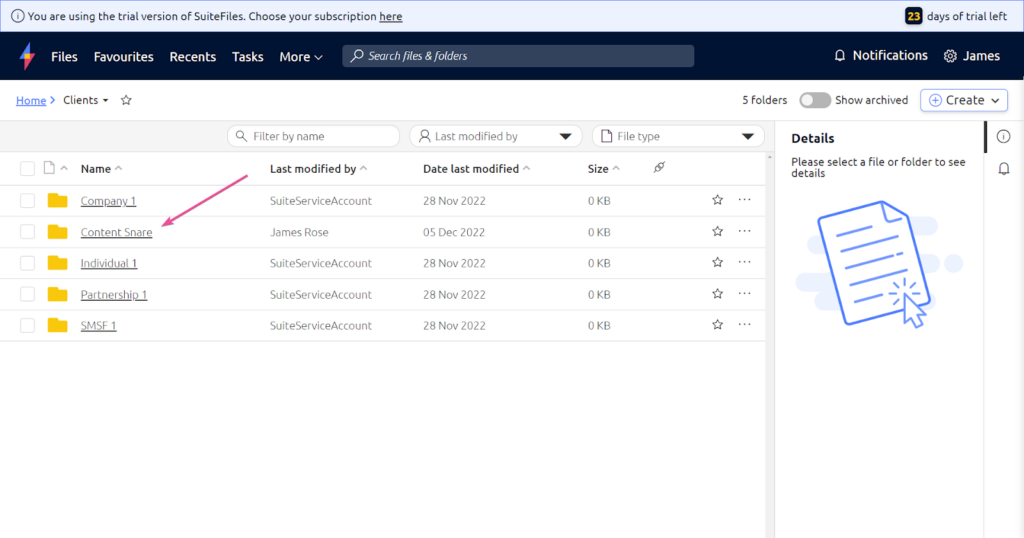
Content Snare needs a dedicated folder to upload files to. Create one in a place that makes sense for your process.
Below, we’ve created a folder called Content Snare in the default Clients folder.
Note that Content Snare will create folders inside this, so files for a client called “ACME Inc” would appear in:
Home > Clients > Content Snare > ACME Inc > 2023 Tax
Step 2: Connect Content Snare to SharePoint
Content Snare integrates with SuiteFiles through Microsoft SharePoint.
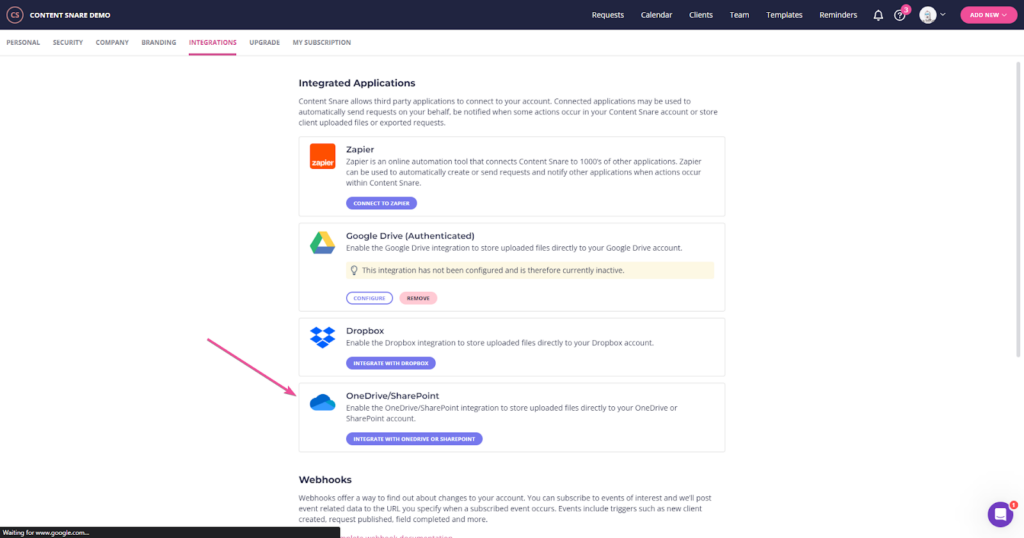
In your Content Snare account, click your avatar in the top right corner and go to Settings – Integrations.
Click the button in the OneDrive/SharePoint area.
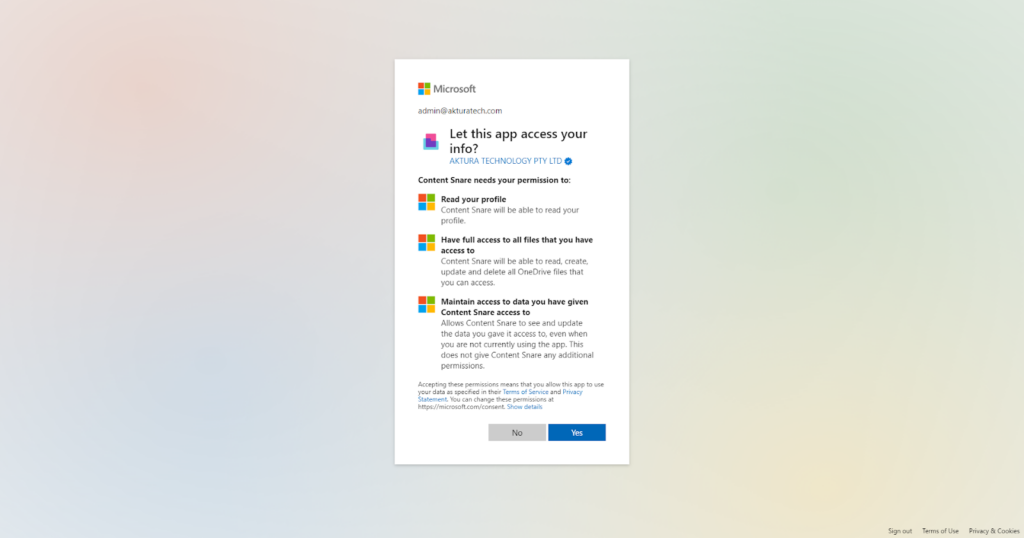
If you are already logged into SharePoint, you will see an authorisation screen like the screenshot below. If not, you will be asked to log in. Click the Yes button to allow Content Snare to connect to your SharePoint.
Step 3: Choose your folder to upload files to
Once connected, you’ll be taken back to Content Snare.
Click the Configure button under OneDrive/SharePoint. You’ll see a popup that looks like this.
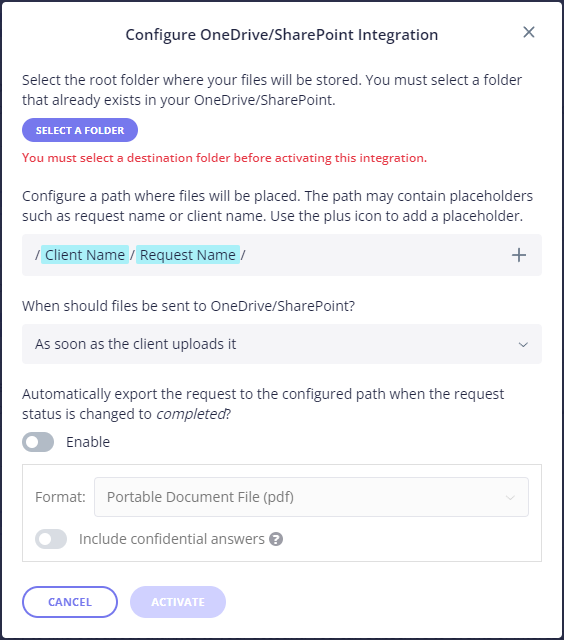
Click the button to Select a folder.
A popup will appear with your SharePoint sites.
Look for suitefIles in the left hand sidebar. Click it to open your SuiteFiles folders.
Note: If you cannot see suitefiles in the left hand column, jump down to the troubleshooting section at the bottom for your next steps.
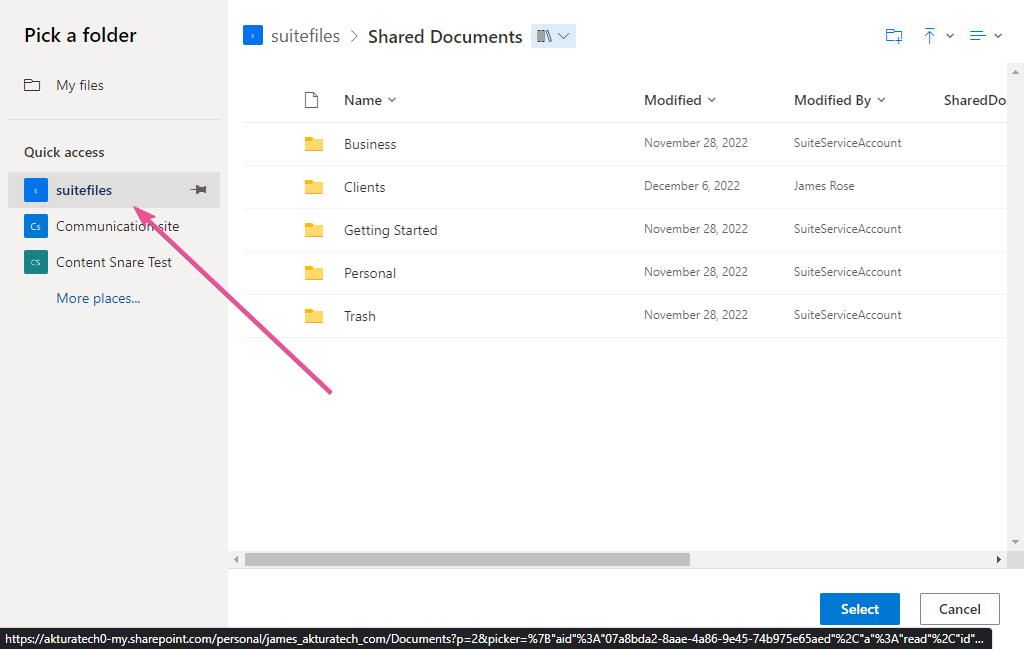
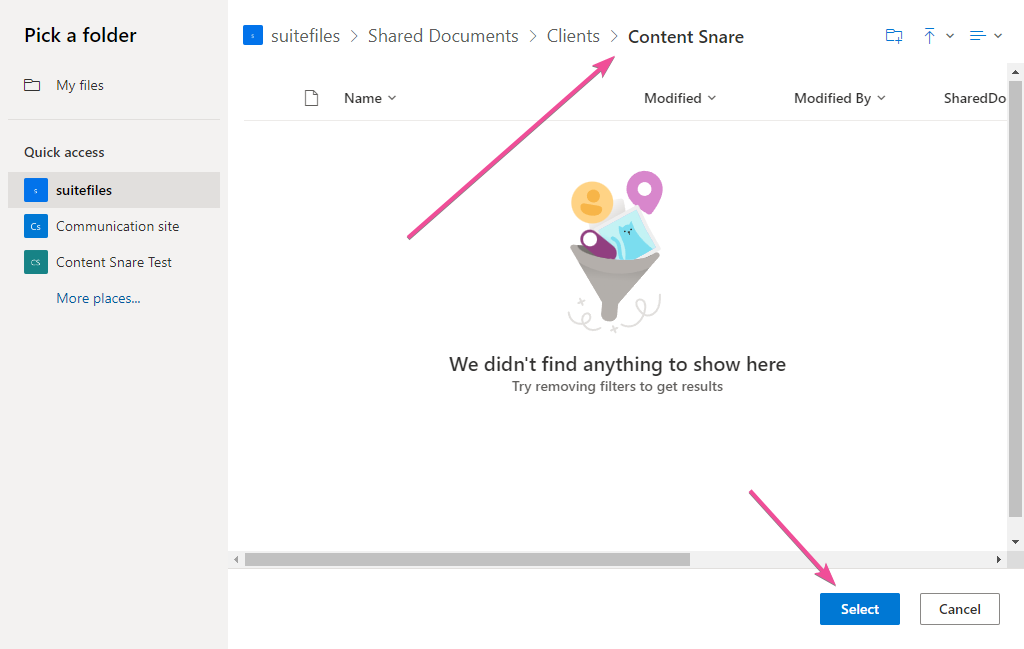
Then select the folder you created in Step 1.
Step 4: Choose your settings
Once you have done this, the popup will close and you’ll see this screen back at Content Snare.
It should say Selected next to the Select a folder button.
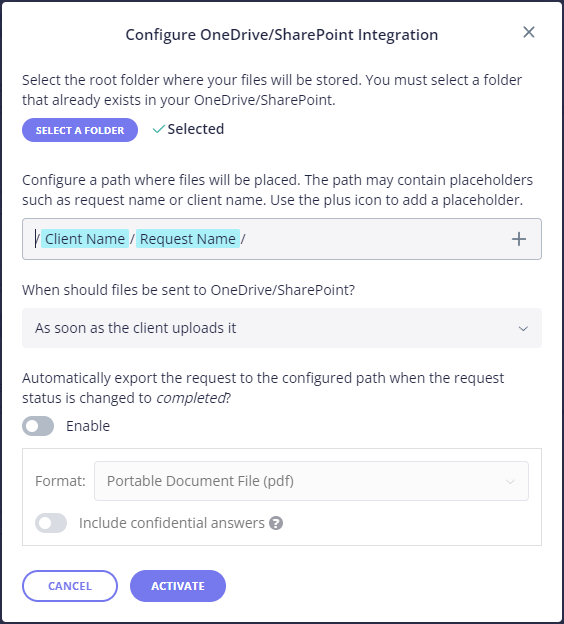
You may now configure the rest of the options.
- Path – this is where files will be uploaded inside the dedicated Content Snare folder. The placeholders like Client Name and Request Name will be replaced with the actual names from Content Snare. For example, if you send a request called “2023 Tax” to “ACME Inc”, it would be uploaded to Home > Clients > Content Snare > ACME Inc > 2023 Tax
- When should files be sent – clients can upload files to Content Snare over a period of time. You may wish to upload them to SuiteFiles immediately, once you approve the file, or when the entire request is complete. Note that if a file is deleted from Content Snare, the file name is changed to have “_deleted” on the end. It is not deleted from SharePoint / SuiteFiles.
- Automatically export the request – enable this if you’d like the form / request to be uploaded to SuiteFiles as well. This includes any of the text-based answers that your client has answered in Content Snare. Once enabled, select the file type you would like it exported to. Typically, PDF is chosen.
That’s all! Now your client forms and files in Content Snare will be uploaded to SuiteFiles.
Troubleshooting SuiteFiles not showing in the sidebar
When you connect to SharePoint, if you do not see suitefiles in the left sidebar, there are some things to check.
First, navigate to SuiteFiles in your SharePoint account.
To see the below screen, first go to your SuiteFiles. Take a note of the subdomain – everything before “.sharepoint.com” in the URL.
For example, if when you look at SuiteFiles, the URL is:
https://yoursubdomain.sharepoint.com/sites/suitefiles/AppPages/documents.aspx
yoursubdomain is the part you need.
Replace “REPLACE_THIS” in the following URL with your subdomain.
https://REPLACE_THIS.sharepoint.com/sites/suitefiles/Shared%20Documents/Forms/AllItems.aspx
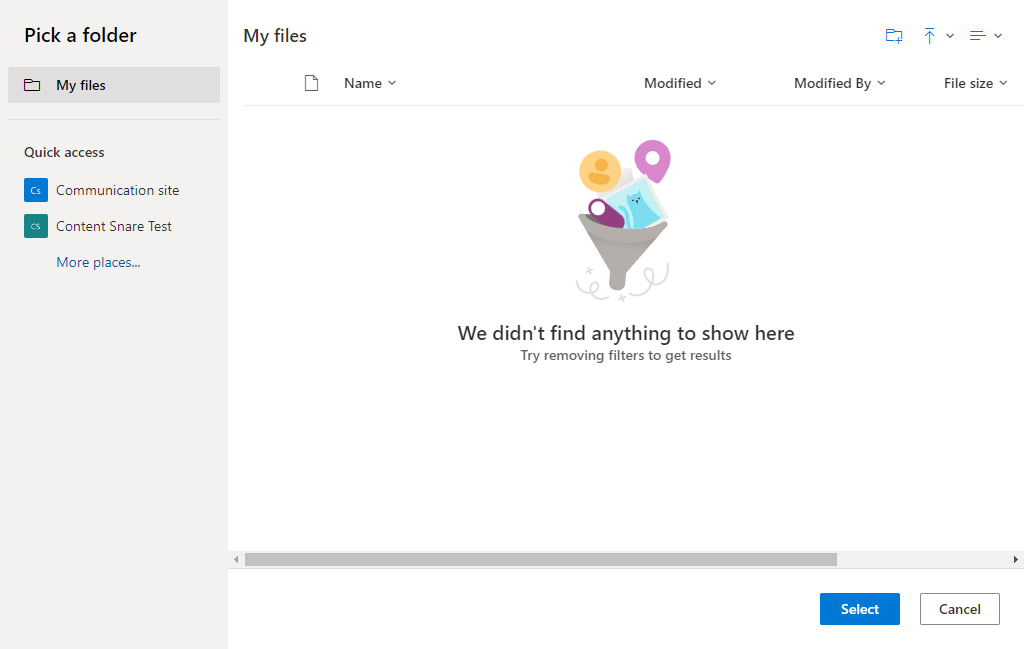
You will see this screen.
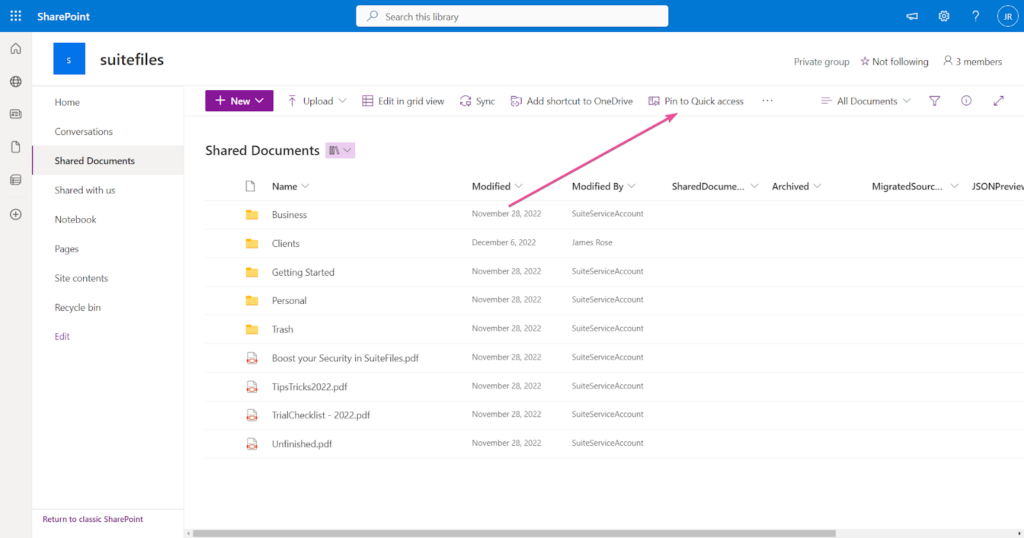
Click the button to Pin to Quick access.
Go back to step 3 and continue your setup.
If this still does not work, there is likely a permission problem. The account you are logging into SharePoint with might not have access to SuiteFiles. Ask your IT administrator to give you permission, or please contact our support team for assistance.
Approval required when connecting SharePoint
When connecting Content Snare to SharePoint, you may see an Approval required screen instead of the standard authorization prompt:
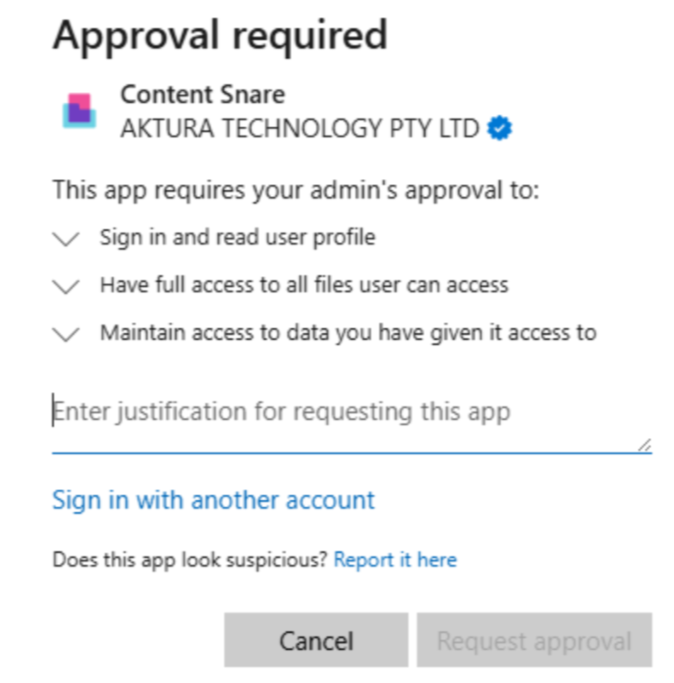
This happens when your organization’s policies prevent users from granting permission to third-party applications without administrator approval. In this case, Content Snare cannot be connected until a Microsoft 365 administrator approves the application.