Content Snare doesn’t currently have the ability to export multiple requests to a single spreadsheet.
There is a workaround for this, using Zapier and Content Snare’s webhooks functionality.
You will need a paid Zapier account to complete this tutorial.
For this to work, every request that you’re exporting needs to be exactly the same. A spreadsheet has fixed columns, so if there are different questions in each request, it won’t work.
Step 1: Create a Zap
In Zapier, create a Zap by clicking the “Make a Zap” button in your account.
In the “Trigger” search for webhooks and click “Webhooks by Zapier“
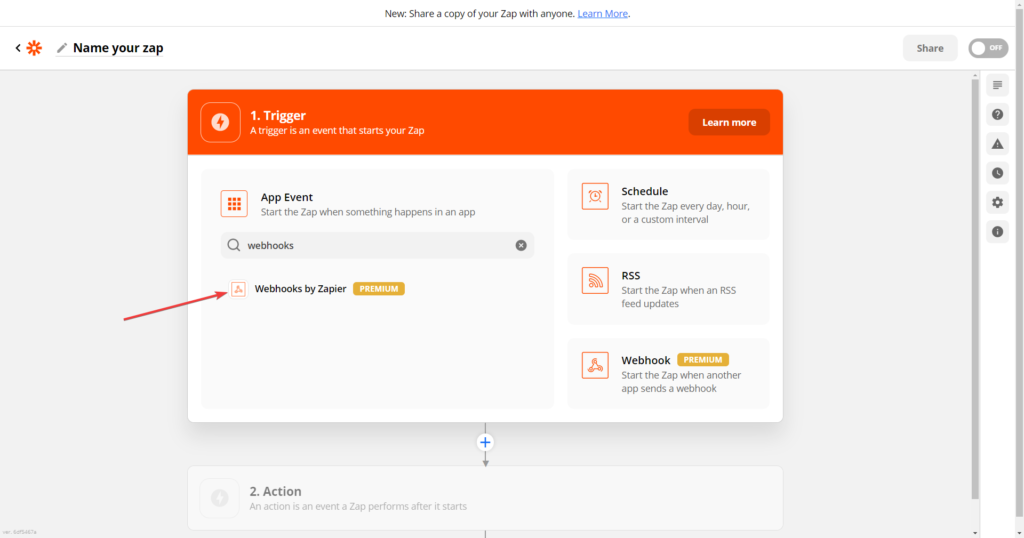
Choose the event Catch Raw Hook, then click continue.
On the next page, it will provide a URL like this.
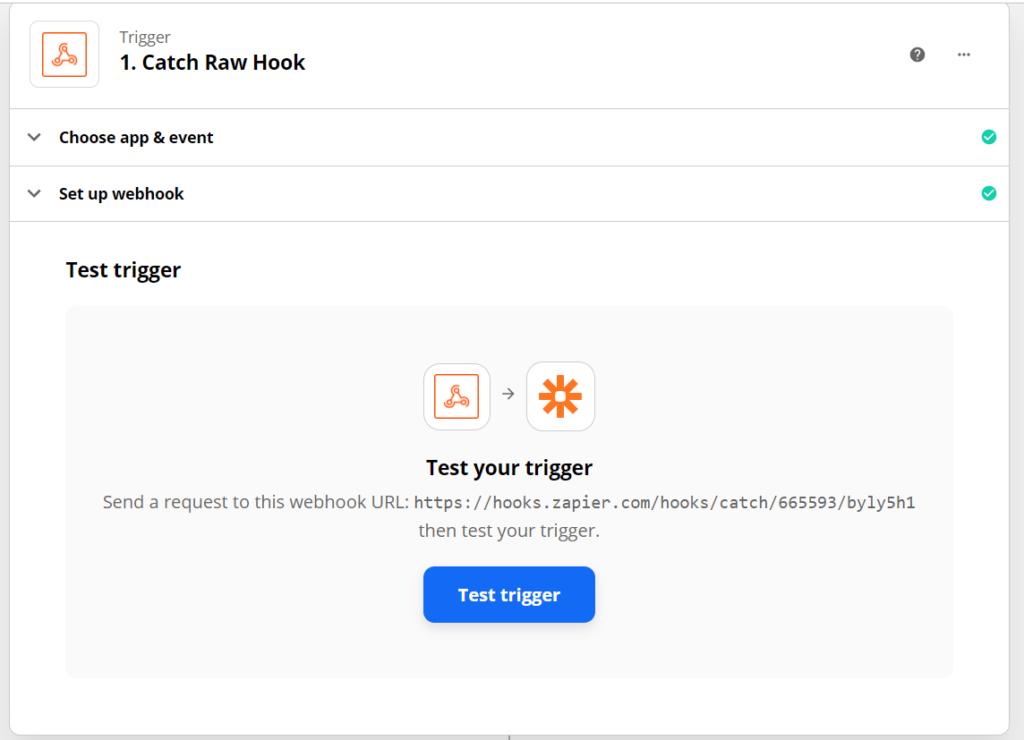
Copy the URL from here.
Step 2: Set up webhooks
In Content Snare, go to Settings -> Integrations.
Turn on Webhooks, click “Add a new webhook” and paste in the URL you copied in step 1.
Tick the box that says “Request Completed” and Save
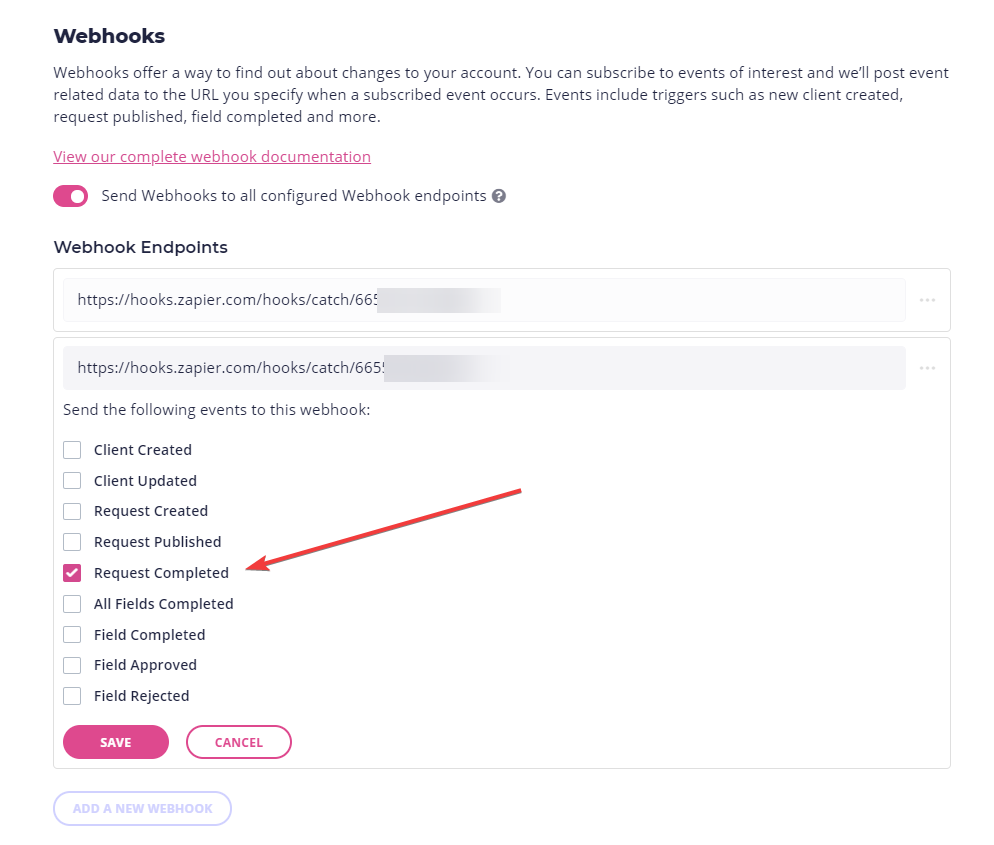
Note: “Request Completed” happens when you click the “Complete Request” button inside Content Snare.
Step 3: Complete a request
For testing, you’ll need to go and complete a request.
You could create a dummy one that you send to yourself, answer some of the questions, then mark it complete.
You’ll first need to approve all the fields.
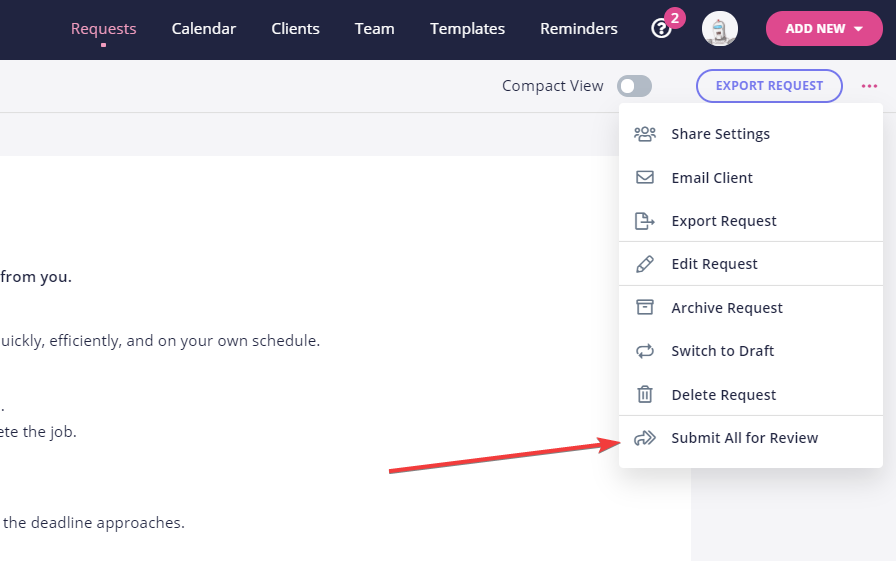
The easiest way to do this is to view the request, and use the menu at the top right hand corner to do the following:
- Submit All for Review
- Approve all submitted
- Complete request
Step 4: Create a spreadsheet
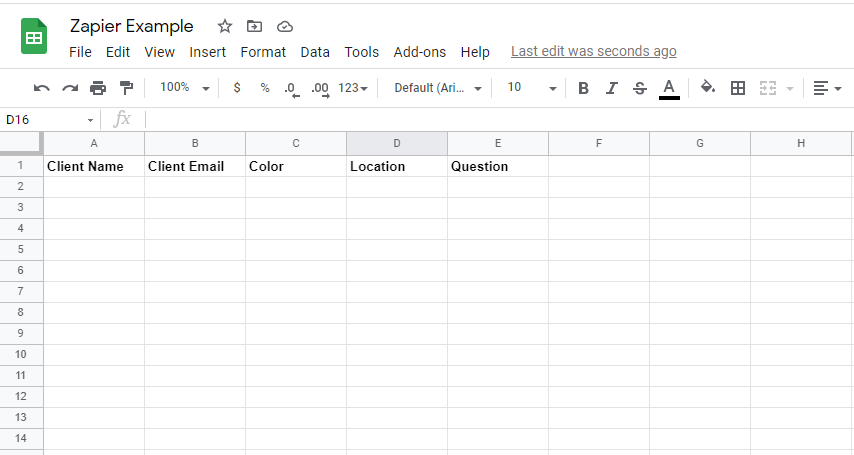
Create a Google Spreadsheet that has all of the columns you would like to fill out from the request.
Step 5: Finish the Zap
Back at Zapier, click “Continue” on the webhook step.
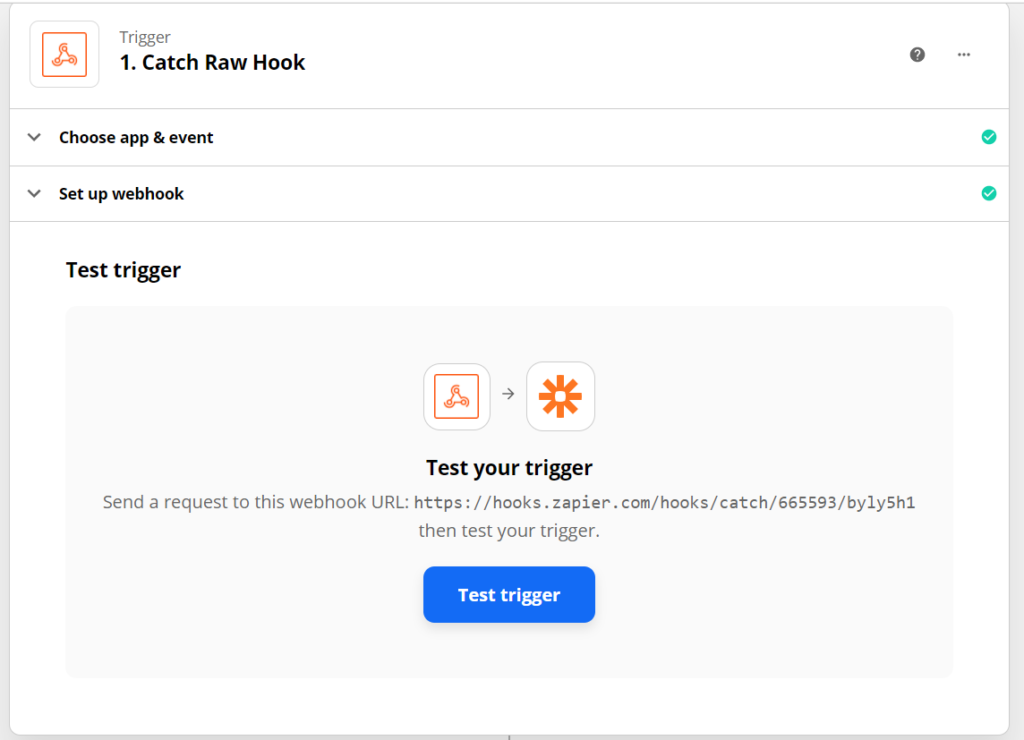
Then click “Test Trigger”.
You should get this:
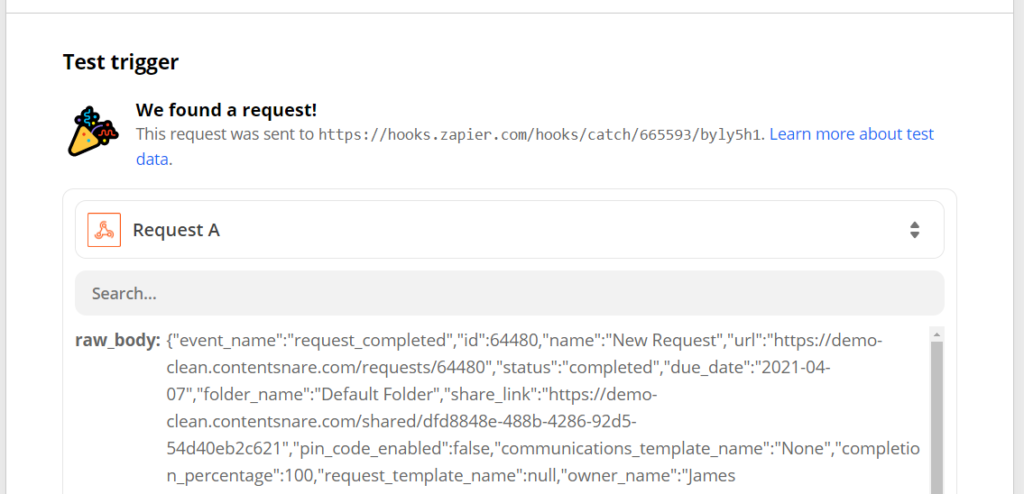
Click Continue, at the bottom.
For the Action, search for “Code by Zapier”. The event is “Run Javascript”.
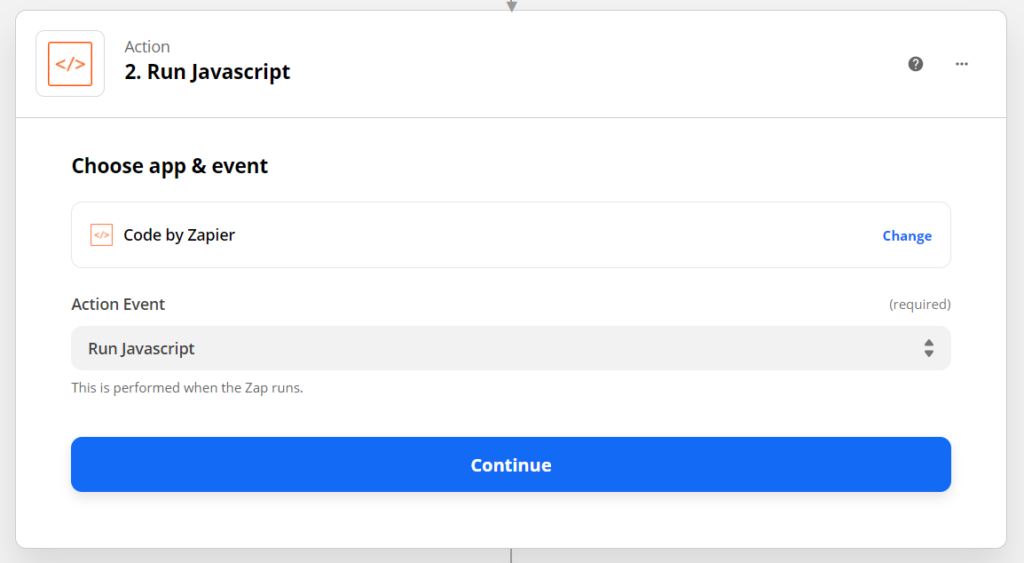
Then:
- Type the word “data” into the first box on the left.
- Click in the box on the right and choose “Raw Body”
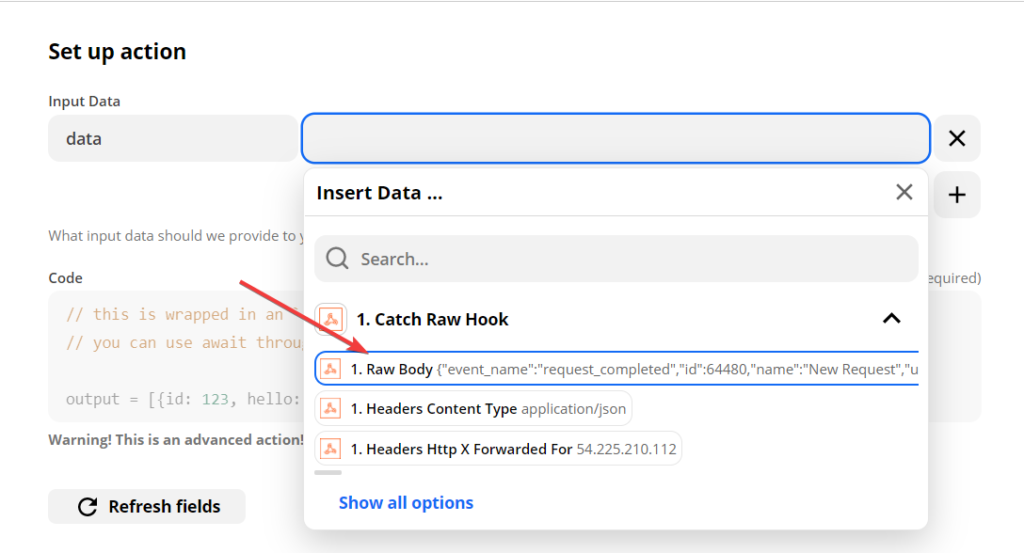
Finally, delete everything in the Code box and replace it with this
const data = JSON.parse(inputData.data);
output = {};
// Fill in fields
output['Request ID'] = data.id;
output['Request Name'] = data.name;
output['URL'] = data.url;
output['Due Date'] = data.due_date;
output['Folder'] = data.folder_name;
output['Share Link'] = data.share_link;
output['Template Name'] = data.request_template_name;
output['Owner'] = data.owner_name;
output['Client Name'] = data.client.full_name;
output['Company Name'] = data.client.company_name;
output['Email'] = data.client.email;
output['Phone'] = data.client.phone;
data.pages.forEach(page => {
  page.sections.forEach(section => {
    section.fields.forEach(({ name, values }) => {
      output['Values ' + page.name + ' ' + section.name + ' ' + name] = values.join(', ');
    })
  })
})
Continue on, then click “Test & Continue”
Now for the last step!
Add another action at the bottom by clicking the + button.
Search for Google Sheets and click it.
Choose “Create Spreadsheet Row” as the event.
Continue.
Connect your Google account, or select it if you have done this before.
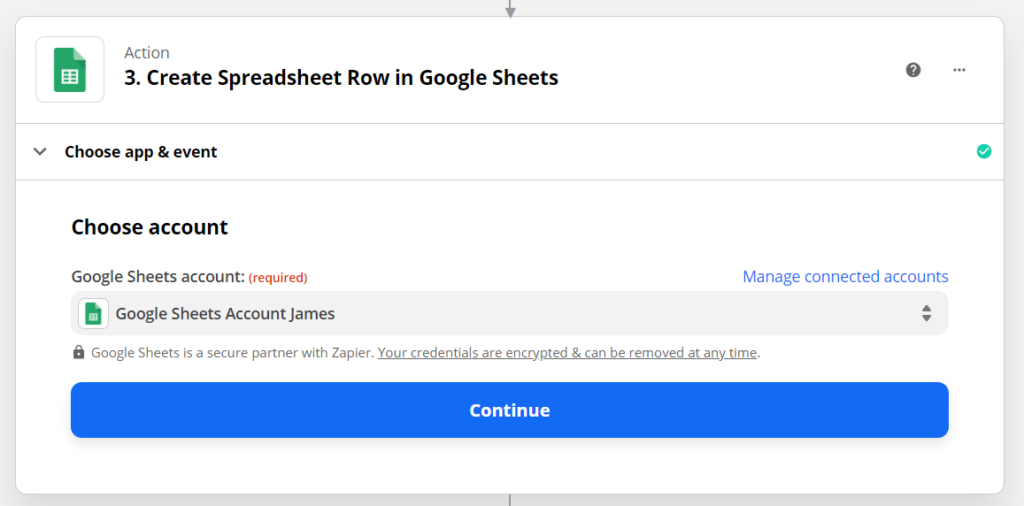
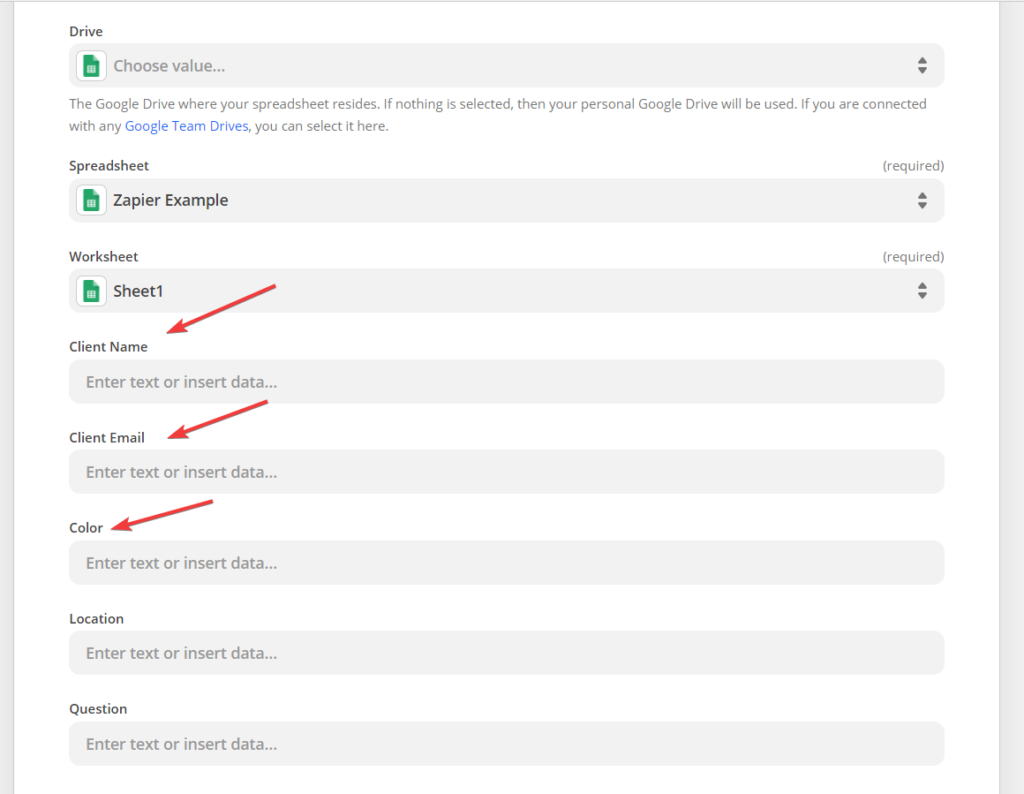
Choose the Spreadsheet and Worksheet that you just created.
It will then load all the columns you created, like this:
For each column, click into the box, open “2. Run Javascript” box, and find the data that you want to put in the column.
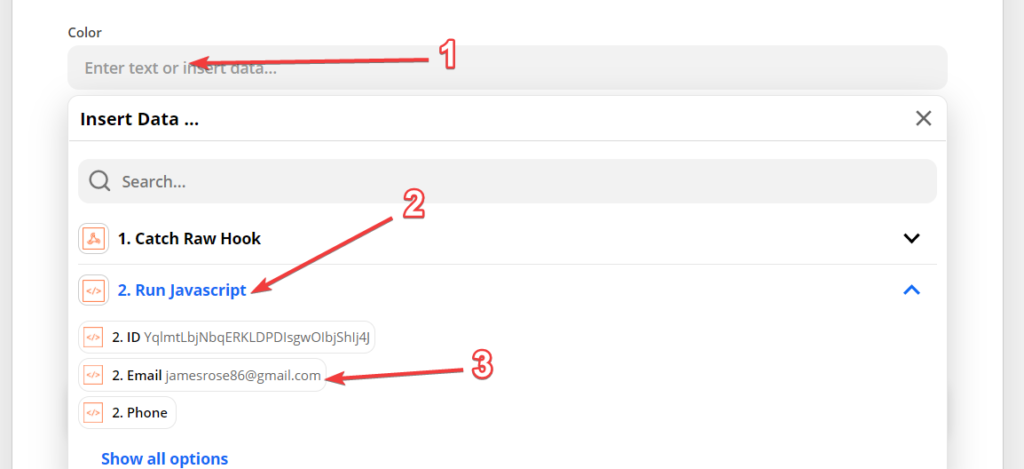
You can also search for values like this (searching for “color”)
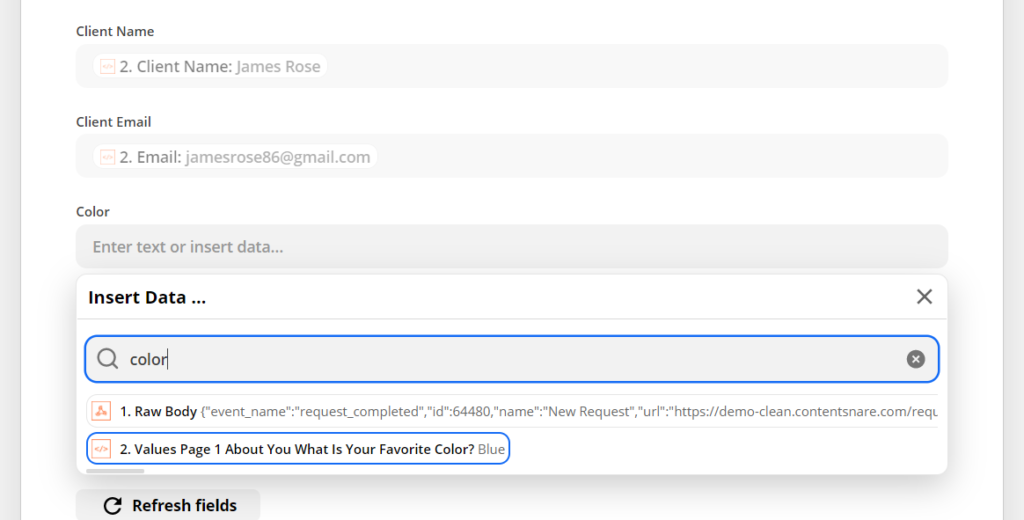
When you’re done, it should look something like this

Then you’re ready to test!

Then take a look at your spreadsheet. You should see the new row there

For the final step, jump back over to Zapier and turn your Zap on!
