With people spending more time online these days, web designers are in high demand. And since business owners know they don’t have the capacity to create the high-performing websites they dream of, they always will be.
Of course, when there’s high demand for web designers, there’s going to be a lot of competition fighting for the fun, challenging, and high-paying jobs.
To remain a top competitor in the field, your projects have to go smoothly, and finish on time as well as under budget. Your web design process plays an important role in this.
Below, we’re going to break down the 10-step web design process, tools to use, as well as process tips and tricks from a few of our favorite web designers: Imogen Allen, Corey Dodd, Nick Gulic, Josh Hall & Jo Minney.
What should your web design process look like?
While the steps below focus on what you’ll do to build a website, don’t forget to bring your clients into the mix.
Jo explains how this can help your projects go more smoothly:
We've started familiarizing our clients with their website as early as possible in the development process and breaking content down into manageable chunks so they don't get overwhelmed.
- Jo MInney, House Digital
So, make sure your process also includes client check-ins. By looping them in on your progress, you’ll keep them from wondering and worrying about what’s going on. And by getting feedback along the way, you’ll save yourself a lot of headaches when it comes time to get approval.
Now let’s take a look at what your web design process should entail:
Phase 1: Paperwork
I know, I know. Paperwork sucks. However, if you templatize your client documents, you’ll cut down on how much time you spend filling in the details.
There are tons of tools that’ll help you generate all the required paperwork you need prospects to sign off on:
As for which documents you need, there are typically three to get the client’s approval on:
Project proposal
The proposal is a high-level summary of what you’re working on and includes details like:
- Project goals
- Deliverables
- Timeframe
- Budget
- Stakeholders
Here’s an example of how easy it is to generate proposals from a tool like AND.CO:
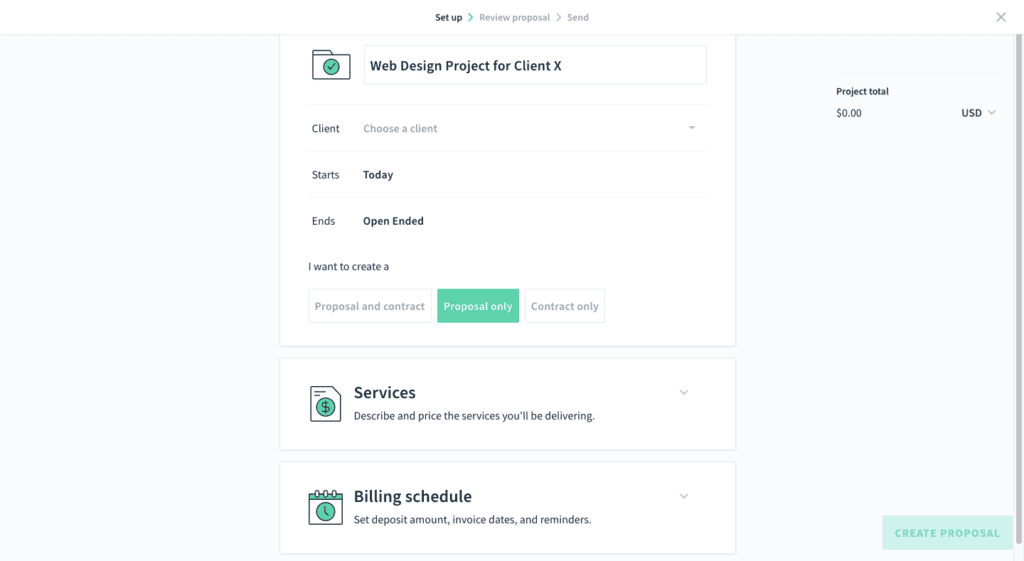
Notice, too, that you can simultaneously create a contract.
Scope of work (SOW)
The SOW is an extension of the proposal and gives the client (as well as your team, if you have one) crystal-clear expectations for how the project will go. It includes specifics related to:
- Objectives
- Project requirements
- Deliverables
- Contractor’s responsibilities
- Timeline
- Milestones
- Revisions
- Estimated costs and budget
- Payment method
Corey collaborates with clients on putting together the SOW:
I believe this part of the project is a collaboration. Most clients have a goal they wish to achieve, but they aren't the right people to fully understand what the most effective approach will be. Creating the scope with the client is a great way to get on the same page.
- Corey Dodd, CoreyDodd.com
Client contract
The contract lays out the terms of engagement as well as all the legalese that covers both you and your client.
The contract should include:
- Project stakeholders
- General services agreement
- Relationship terms
As well as agreements related to:
- Website ownership
- Confidentiality
- Payment terms and late fees
- Feedback and revisions
- Project acceptance
- Liability
- Force majeure
- Project termination
- Governing law in case of disputes
Making sure you and your client are on the same page before the ink dries is vital to the success of your project.
Phase 2: Client onboarding
If you want to keep your clients from becoming a bottleneck down the road, client onboarding is a must.
One of the main reasons to do this is to get your clients used to being accountable early on. As Nick explains:
There’s always a chunk of clients that take forever to provide content. Then there are some that take their time reviewing work or replying.
- Nick Gulic, NickGulic.com
But if they recognize the role they play in this process and how their lack of contribution can impact the project’s delivery, budget, and success, they’ll be eager to provide you with whatever you ask for.
The website design questionnaire will help set the right tone for this kind of healthy collaboration. You can quickly create one using Content Snare:
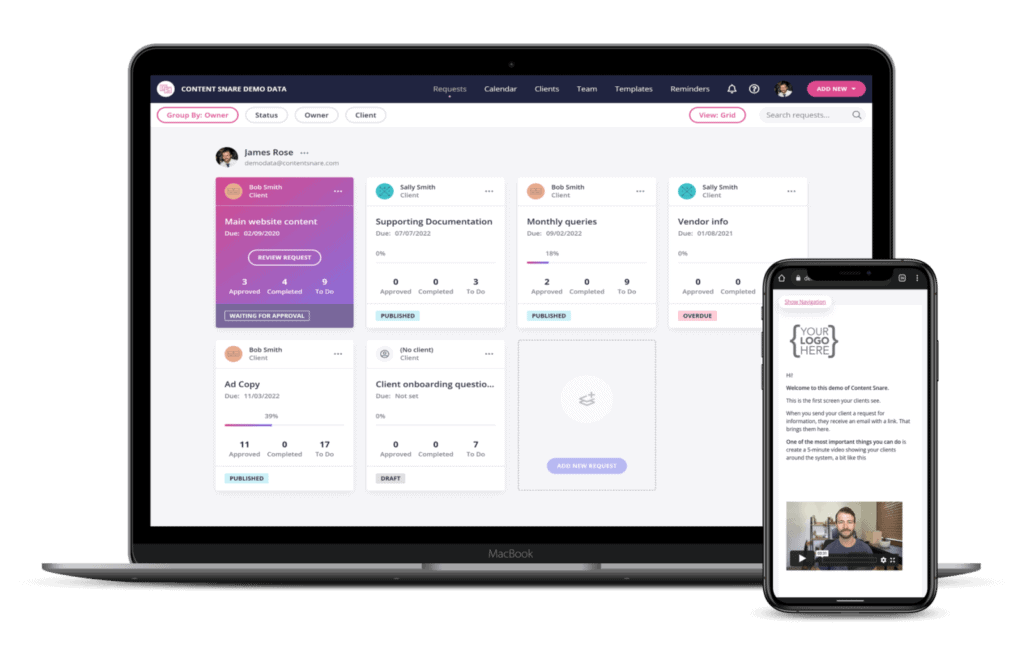
Your questionnaire should include questions related to:
- Information on their business, like what it does and what the goals for the site are
- Information on their brand identity and personality
- A list of websites they like and ones they don’t
You might also need to collect files and other details from the client to get the project done. For example:
- Logos
- Style guides
- Image/video assets
- Content
- Logins
With Content Snare, you can streamline this part of the process and have a reusable onboarding questionnaire ready to go the second a new client signs your contract.
Phase 3: Research & planning
Now that you have everything you need to get started, it’s time to jump into the research and planning phase.
For designers like Corey, niching down can actually make this part of the web design process go more smoothly:
I work with a niche most of the time, but this does not totally restrict what I do and who I work with. I will often take on work with people outside of that niche. How niching makes things easier is that it gives a lot more focus to how I market, where I spend my time, and who I try to engage with. It makes content creation easier as well as networking. Another huge benefit is that I have a better understanding of how those businesses work, what language they use and what problems they think about.
- Corey Dodd, CoreyDodd.com
That said, it’s alright if you don’t have a ton of experience or first-hand knowledge of a client’s business or industry. The data you get from them during onboarding will help a lot. So, too, will the research you do into:
- Their industry
- The competition
- Their target audience
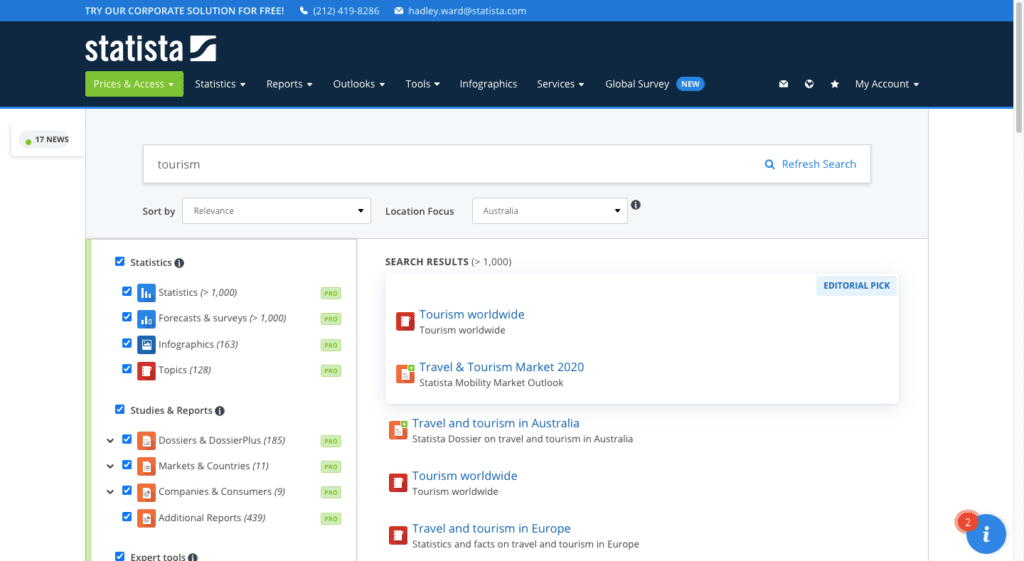
Tools like SEMrush and SimilarWeb will help you scope out the competition. You can also use free market analysis tools like Pew Research Center and Statista to fill in the blanks.
Depending on the scope of the project, you’ll use this data to do a number of things next:
- Create user personas to target.
- Create a visual style guide.
- Put together a design system.
These documents will serve as a reference going forward, so it’s important that you take the time to create them now.
Phase 4: Information architecture setup
The aim of this phase is to:
- Map out the structure of the website.
- Decide what the hierarchy of content needs to be.
- How best to help your users complete their goals using it.
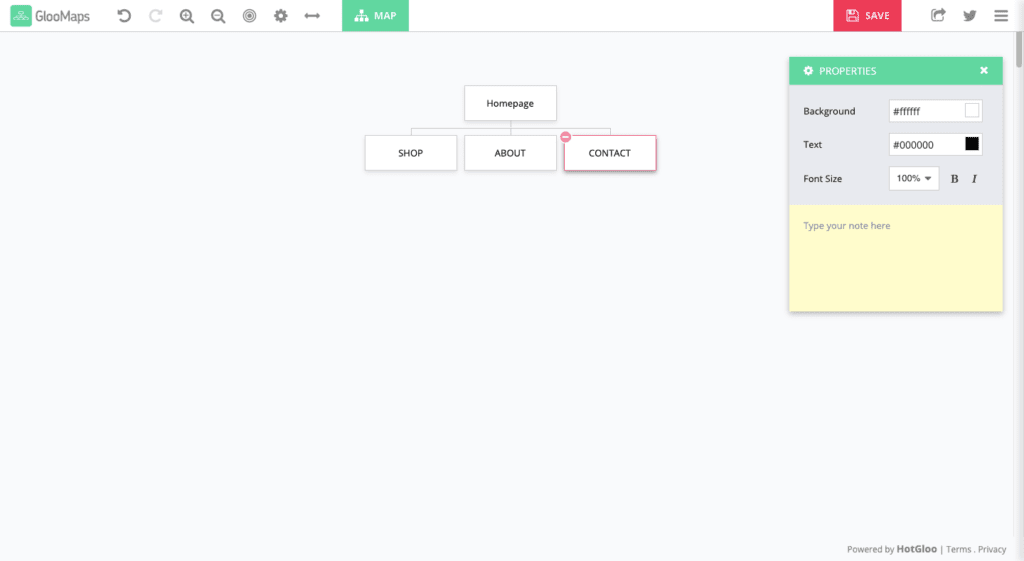
Use tools like FlowMapp and GlooMaps to create your visual sitemaps and plot out user journeys.
Phase 5: Wireframing
The designers we asked about wireframing seemed to be split on whether wireframes are of any value to the client.
Some web designers use wireframes strictly for internal planning purposes. As Imogen explains:
Wireframes as a concept actually make it more confusing for the client as they can't visualize what the end product will look like based on a wireframe.
- Imogen Allen, Umbrella Digital Media
Others, like Jo, provide clients with wireframes if they're creating their own content:
We find that the idea of designing around the content doesn't always work unless you have a client who is good at (and comfortable with) copywriting. By creating wireframes for key pages such as the home page, we help them determine what they need to write and break it down into bite-sized chunks.
- Jo Minney, House Digital
Ultimately, it’s up to you to decide whether or not this phase is needed in your process. If you answer “yes” to any of these questions, then it’s a good idea to incorporate them (for the time being anyway):
- Do you find tasks easier to manage when they’re broken up into smaller, more manageable chunks?
- Do you naturally view a website in different layers (e.g. structure and layout, design, code)?
- Do you find that having concrete plans makes it easier for you to be creative since the groundwork has already been laid?
- Has consistency in design or content been an issue with previous websites you’ve created?
- Do you or your editor spend a lot of time reworking the copy since it never fits into the website?
If you decide that wireframes are a valuable tool — for you or for your clients — they’re easy enough to build:
- Start with one of these website wireframe examples and build your own using your design software.
- Use a prototyping tool like Figma and MockFlow.
- Build the wireframes directly into your CMS.
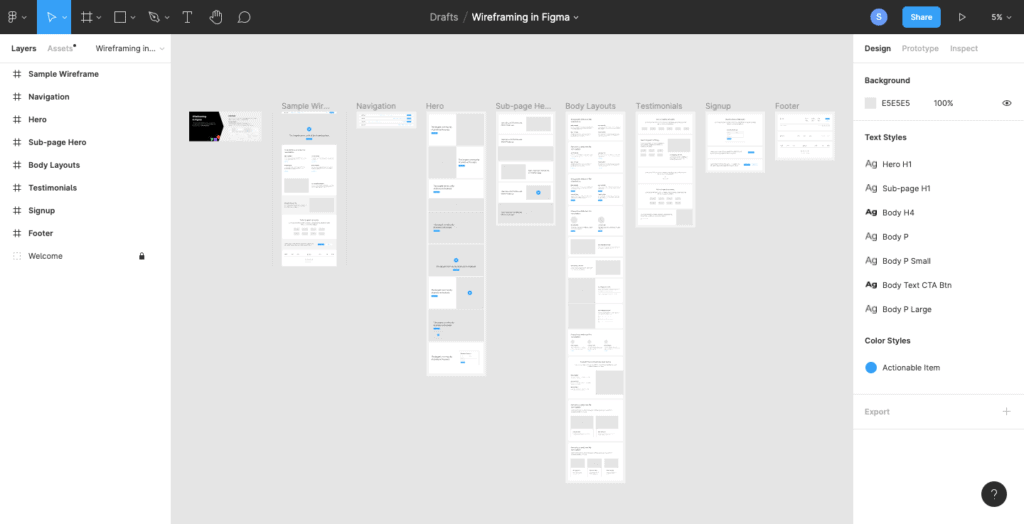
Regardless of how you build your wireframes, the goal is to make the structure consistent from one page to another, make it flow smoothly throughout the user journey, and make sure pages don’t get abandoned or trapped down a maze of other pages.
Phase 6: Copywriting
Content is often what causes web design projects to slow down or come to a screeching halt.
Before any contracts get signed, you need to establish who is writing the content:
- You or someone on your team
- The client
- A third-party copywriter
Some designers prefer when clients outsource copywriting Corey does:
Clients are the worst at creating content, not only with what they write but in underestimating how long this will take. Whenever a client is responsible for the content, it gets delayed. So, the majority of the time, a third-party copywriter comes in.
- Corey Dodd, CoreyDodd.com
If you’ve run into this issue a lot or you want to avoid it altogether, pushing clients towards outsourcing is a good idea.
If the client insists on creating their own content — after all, who knows their business better than they do? — you may want to do as Imogen does and give them with the tools to succeed:
Sometimes, I do a client interview, record it, and ask them lots of questions. Then I pull the content together based on the discussions we have. You'd be amazed at what great content comes out of that setup. They just talk and don't realize they’re creating their own content.
- Imogen Allen, Umbrella Digital Media
Content Snare also comes in handy during this phase as it gives clients a place to upload their files and to do so in an organized manner. That way, you’re not left having to make sense of what you’re given.
Phase 7: Web design & development
The web design phase gets completed first. This is where you’ll fill in the visual details for your wireframes.
You can use a variety of tools to design a website:
- Design software like Adobe XD or Sketch
- Prototyping software like Figma or MockFlow
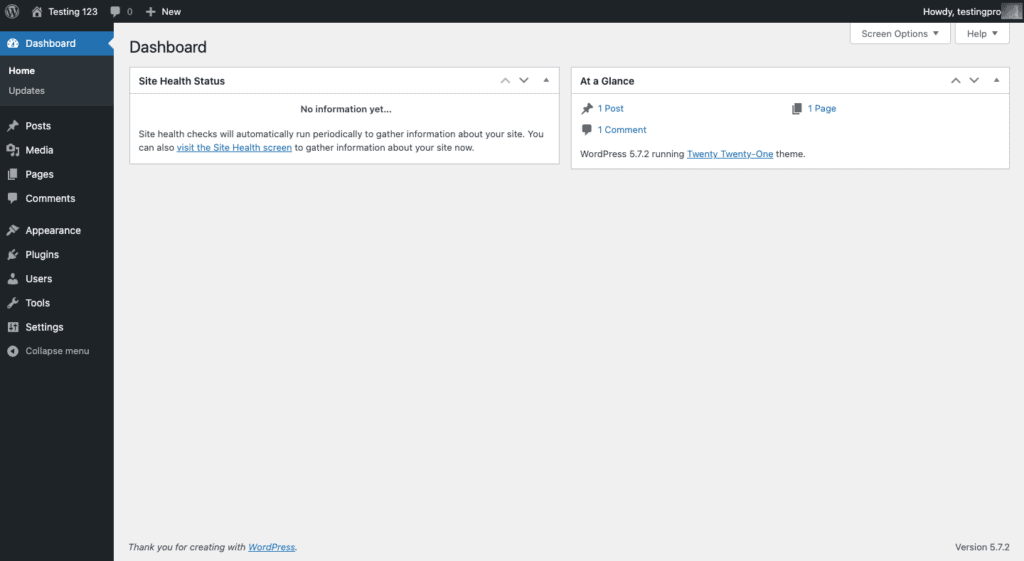
- Directly in a content management system like WordPress or Shopify
If you’re not using a CMS to design your client’s website, you’ll need a tool that simplifies the handoff from design to development. Marvel and Zeplin can help with this.
It’s also a good idea to use a staging environment so you can design and develop without the prying eyes of your client peeking in from time to time. It's better if you have control over when they see the work and provide feedback on it.
Phase 8: Testing
It doesn’t matter how good of a designer you are, mistakes happen and bugs will appear no matter how thorough you are.
I’m sure many designers feel as Corey does:
I genuinely want to do the best work I can for clients and a simple mistake can let things down a lot. There is nothing worse than a client having something pointed out to them by someone else.
- Corey Dodd, CoreyDodd.com
You of course want every client to have a chance to inspect the site for themselves and approve what you’ve created. When the time comes for that, you can use something like Markup.io or ProjectHuddle to collect their feedback visually.
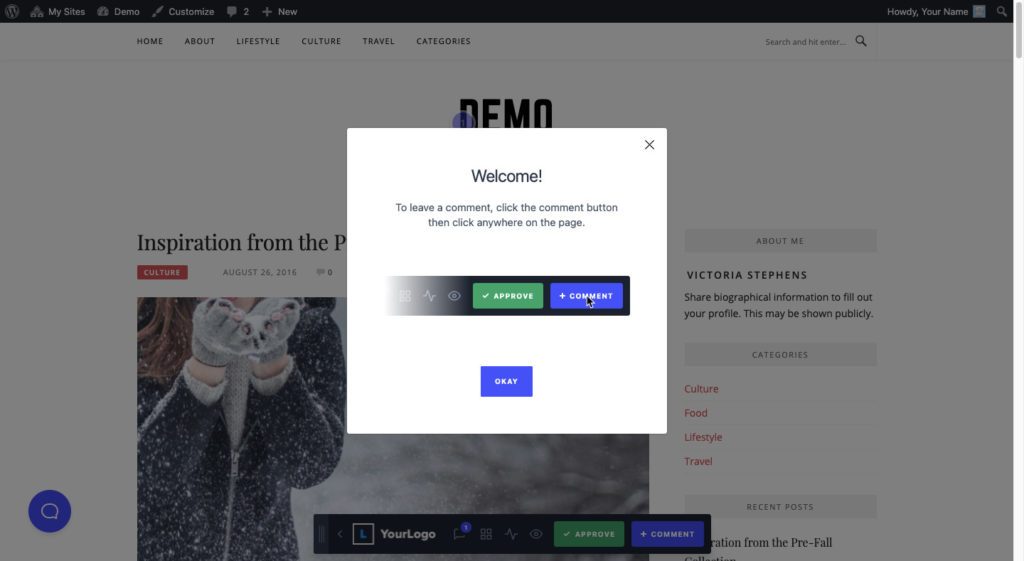
Before that, the website should undergo an internal round of QA and testing. Nick, for instance, outsources testing to the developer. Imogen has her virtual assistant review it. And Jo loops in everyone on the team.
No matter who does it, you’ll want to look for things like:
- Missing content
- Content errors
- Broken links, forms, or buttons
- Slow loading speeds
- 404 errors
- Issues with the mobile experience
- Accessibility issues
- Bugs
A page-by-page walk-through is helpful. However, your tester should also use tools like PageSpeed Insights, CrossBrowserTesting.com, and Hemingway to check for issues that aren't as easy to detect with the human eye.
Phase 9: Launch
With the bugs sorted out, it’s time to move your client’s site from production to the live server.
Make sure that after it goes live, someone does another site walkthrough to verify that nothing breaks during the transition.
Imogen has a helpful suggestion for this:
I do a soft launch where I ask the clients not to make any announcements and let the site settle for a day or so. Once we’re happy, they can make the announcement. This soft launch takes the pressure down and gives me a chance to test and check that everything is working okay
- Imogen Allen, Umbrella Digital Media
You can then introduce your client to the backend of their site so they know where to go if they want to add something new or make changes to existing content.
Josh has a whole process built around client empowerment. He also asks for a testimonial, which can really help you build up credibility as a web designer.
Phase 10: Maintenance
If you’re going to handle the ongoing maintenance of a client’s site, have this conversation before the project begins. Many of the designers we talked to do this.
Nick and Imogen, for instance, both said that maintenance is built into the projects they work on.
If you’re on the fence about doing this, just listen to why Josh does it:
The clients who don't host with us have worse loading times, problems with hosting, and are more at risk for hacks.
- Josh Hall, JoshHall.co
If you want help pitching website maintenance to your web design clients, borrow Jo’s approach:
Our clients are usually more than happy to offload the responsibility of keeping everything healthy because they know we'll do a better job. Plus, they don't have the time or inclination to do it themselves. We generally pitch it a bit like insurance: ‘You've invested all this capital into your website. Make sure it’s protected against bad things like being hacked or it explodes because of a dodgy plugin update.
- Jo Minney , House Digital
The mere mention of slow-loading pages, downtime, or a security breach should have your clients eager to sign up.
Don’t worry. Website maintenance doesn’t have to take up a bunch of your time. You can handle it on your own within the client’s CMS and web hosting control panel. Even better, you can use a website tool like ManageWP or MainWP to manage all of your maintenance clients' sites at once.
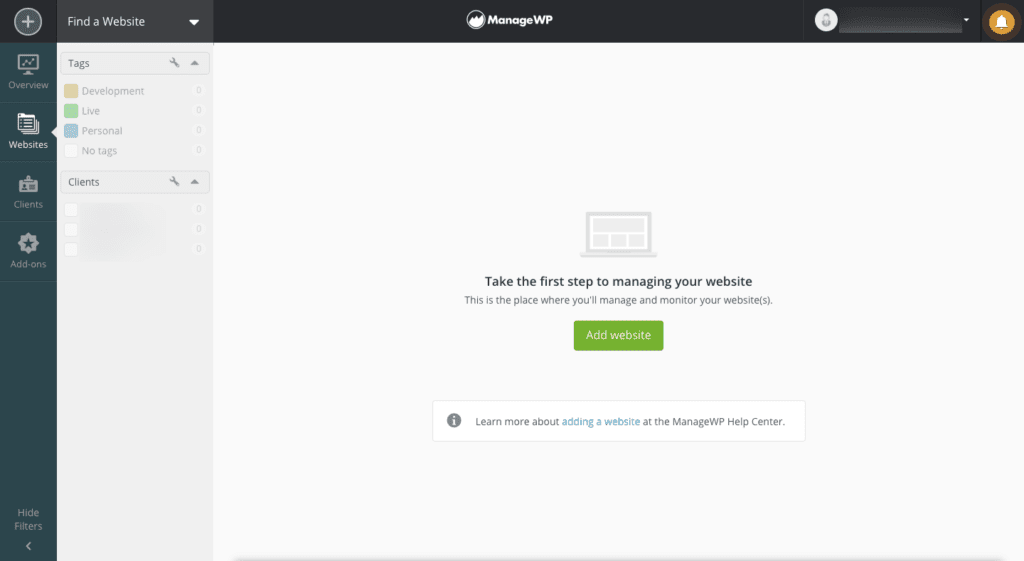
If you’d rather not manage it, that’s okay. You can always outsource it to white label maintenance services like GoWP or WP Buffs.
Summary
By creating a web design process that mitigates for the common annoyances, obstacles, and issues that creep up, you won’t have many fires that need putting out. Instead, you can spend more time flexing your creative muscles and designing websites that impress the heck out of your clients.
So, what do you think? Are there any steps here you don’t think you’ll need? Or any that you’d suggest adding?
