COVID-19 is changing the way real estate agents run rental inspections.
As a property manager you need to inspect properties on a regular basis. But in this time & environment:
- It isn’t safe for you to do so
- Tenants likely don’t want you to do it
Let’s be honest though, is organising inspection times, driving to the property and running an inspection ever something you liked doing? I’m guessing that’s a no.
What if you could have tenants run property self-inspections to send you everything you need?
This is extremely easy to set up in Content Snare. In this post you’ll learn how to set up remote property self-inspections.
You’ll learn how to:
- Send a rental self-inspection request that is dead-simple for tenants to use
- Include text and video instructions for tenants
- Save the inspection template to send to all future tenants
- Set up automatic reminders that go to tenants
- Export the report for your own records as well as landlords
When life does return to normal, you’ll be set up to run remote self-inspections and never have to waste time and money attending a property again.
First you'll need a Content Snare account. You can sign up for a free trial here.
Begin sending tenants remote inspection requests today. Automatic tenant reminders. No “per-inspection” fees. Sign up for your free trial below.
Create a remote rental self-inspection
In Content Snare, you send “requests” to clients. A self-inspection would be one request.
After you create your account, you’ll see a button to create your first request.
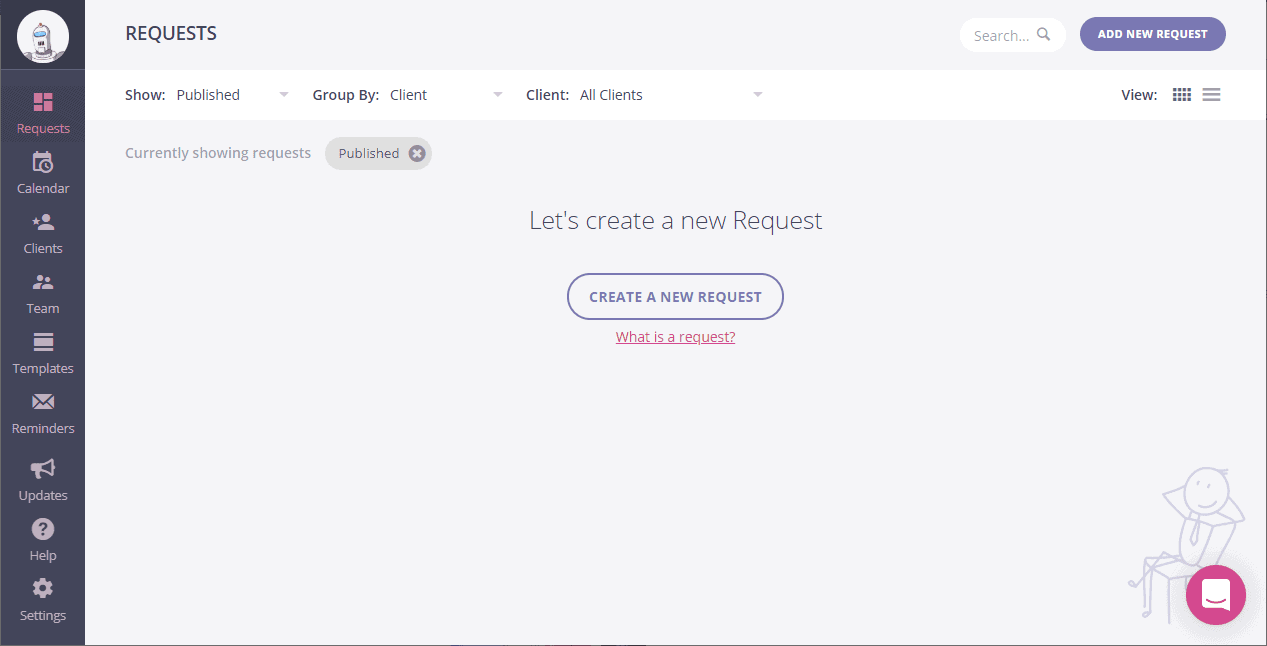
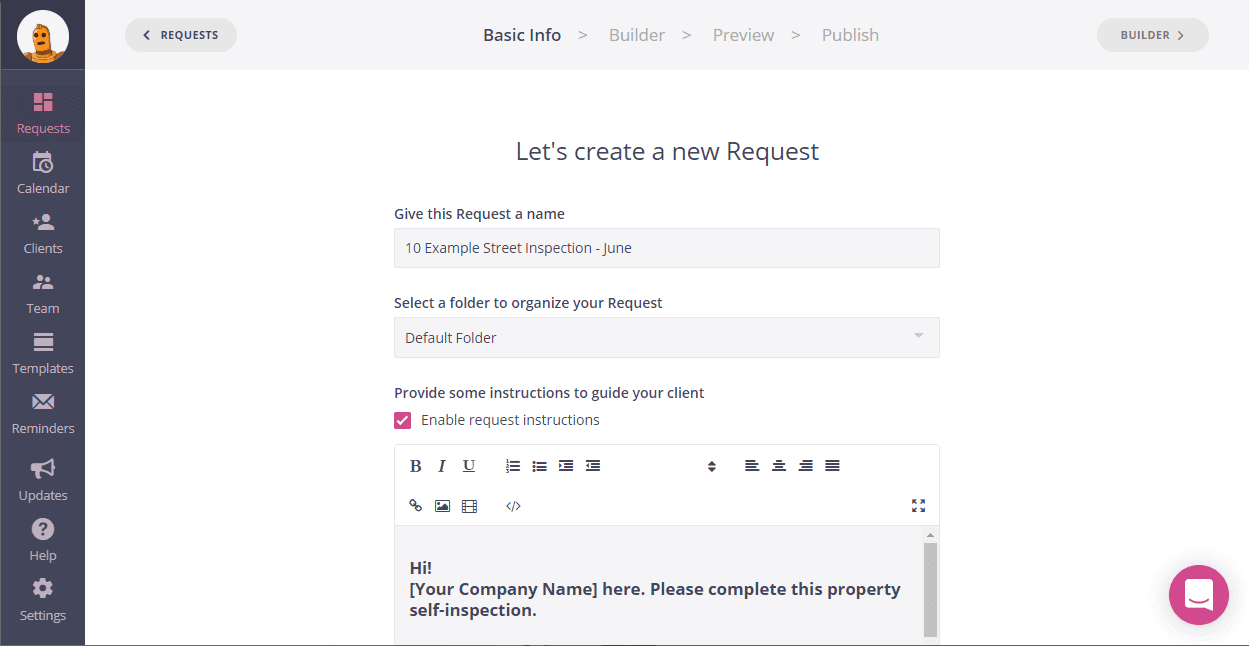
On the first screen:
- Name the request e.g. 10 Example Street Inspection - June
- You can leave the folder as default, unless you would like to organise your requests by landlord or some other grouping
- Edit the instructions to your tenant. This is the first thing they will see when they click the link in an email. You may wish to put your logo here, or use the video icon to embed a video welcoming them to the system. You can add YouTube, Vimeo or Loom videos.
Then click the option to Use a Template. You can also start from a blank request if you would rather specify the questions yourself.
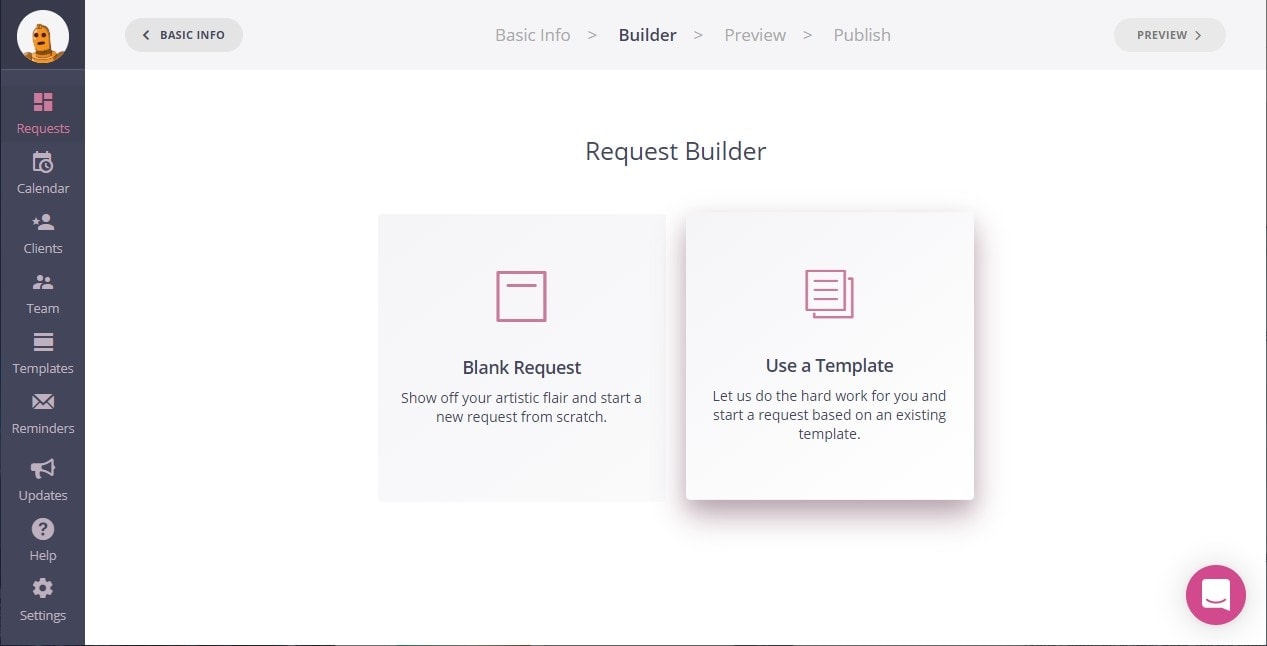
Look for “Rental Property Self-Inspection” in the list and click the “Use Template” button
** Note that this template is coming soon. If you don’t see it in your account, use the pink chat icon icon in the bottom right corner to message us and we’ll help you set it up.

Once you’re inside, you’ll see there are a few layers to the questions you’ll ask your tenants.
Those are:
- Pages
- Sections
- Fields (the actual questions)
You can break things down however you like. But typically you might use a page for each room in the house. Inside each page you could have a section for text-based questions and a section for the photos they need to take.
You’ll see an example layout if you chose a template in the previous step. You can tweak the existing questions as much as you like.
For example you might start with the template and:
- Delete rooms that don’t apply
- Duplicate rooms and rename (e.g. duplicate Bed 3 and rename the new one Bed 4)
- Change instructions wording
- Embed videos that you have recorded into the instructions
Note that you can include instructions on any level - page, section or field. So you could have room-specific instructions on each page, or photo-specific instructions for an image field.
Adding questions
For remote inspections, the main types of questions you will need are shown below.
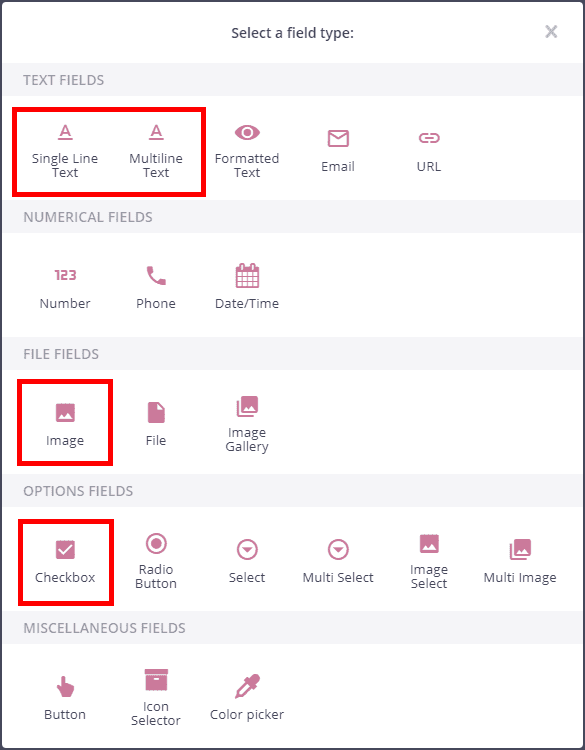
You can ask open ended questions with the two types of text fields.
Image fields will require them to upload a photo or image.
Checkboxes can be used to confirm that a room is clean or that nothing is damaged.
Saving your work as a template
You can save any component of the request as a template that you can re-use on future tenants.
For example you might save a page as “Bedroom”. Then you can add that page to future requests in a couple of clicks.
You can also save the entire request as a template. If one property requires a specific set of questions, you’d save the request as “10 Example Street” so you can quickly find it next time you need it.
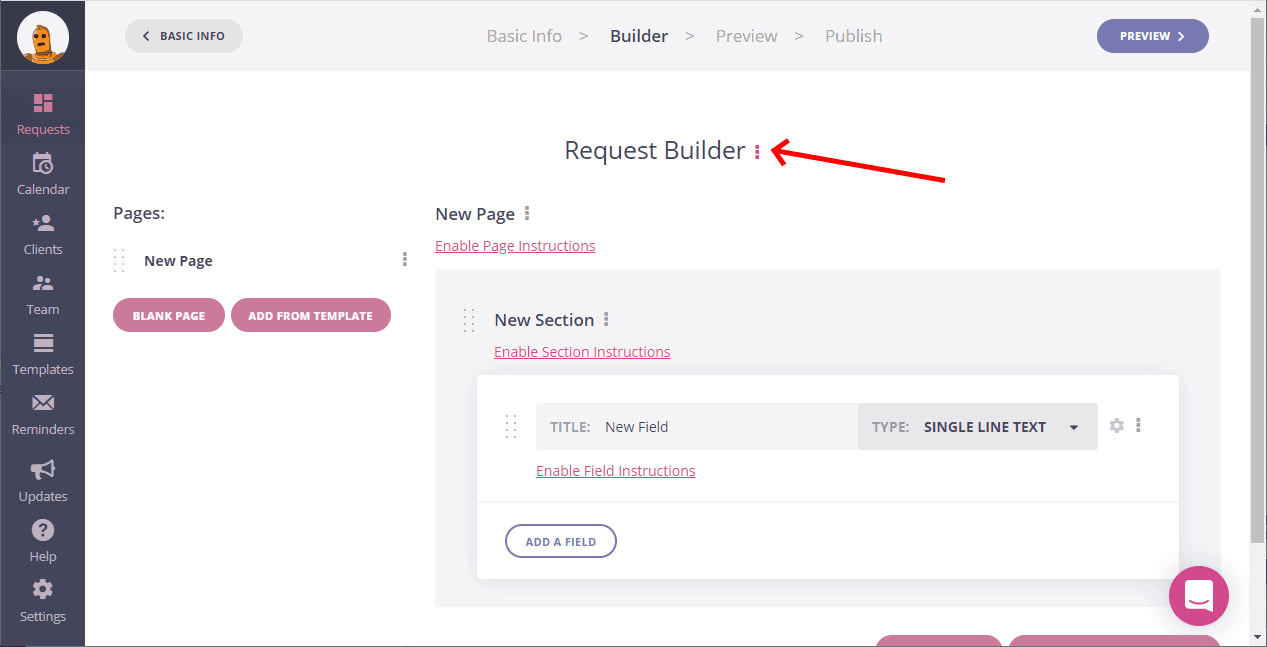
To save a request as a template, select the 3-dot menu beside “Request Builder”, shown at the top of the ‘Builder’ step.
First, once you’ve finished building the questions you want to ask, move to the preview step using the button in the top right corner.
This is a preview of what your tenant will see.
You can click through this as if you were a tenant. It works well on mobile too.
Send the self-inspection to the tenant
When you’re done previewing, move on to the Publish step.
This is where you set the tenant that this will be sent to, the due date and the email reminder schedule.
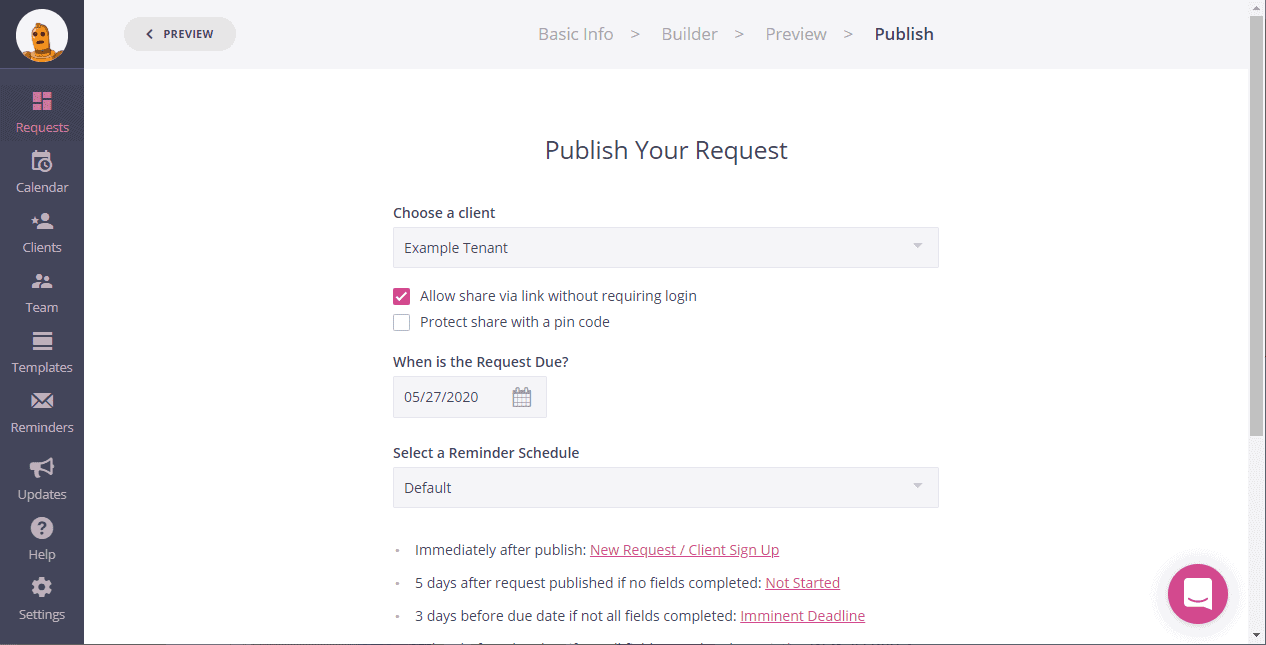
We recommend using the “allow share via link” option enabled so that they can simply click the link they receive to access. You can add a pin code if you like, and it is sent to them automatically in the email.
Finally, you can choose the reminder schedule. There is one built in, but we recommend customizing it for your own language.
Customizing email reminders
To create your own email schedule, click the “Reminders” menu icon on the left hand menu. Then click “Default” to edit the default schedule.
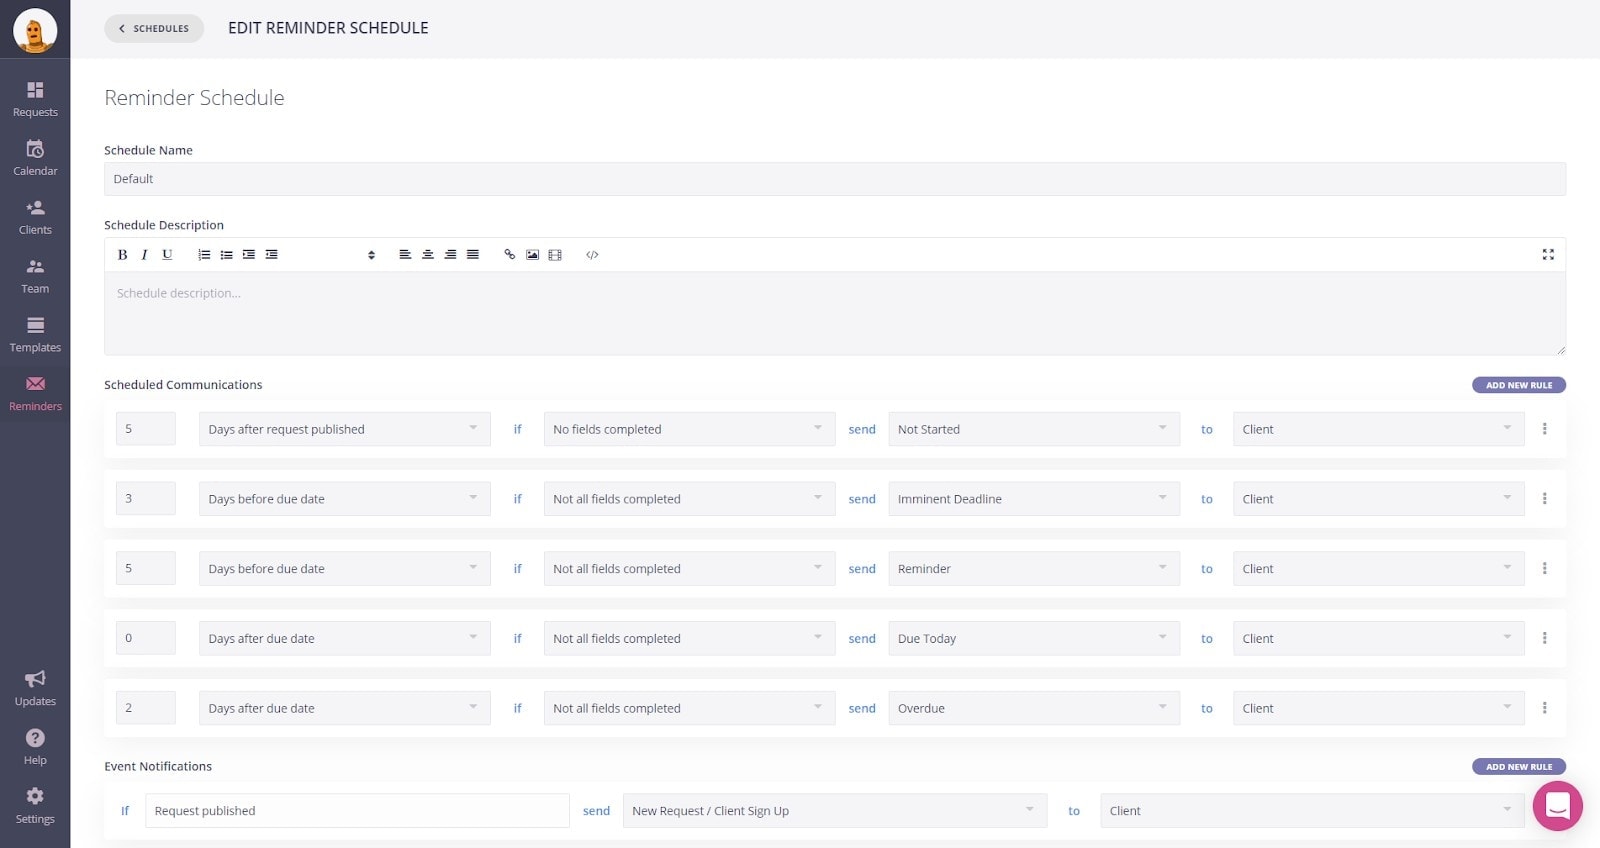
Here you can specify the rules when emails will be sent to your tenant. Just read them as they are displayed on the page. E.g.
“5 days after request published (sent), if no fields are completed, send the “Not started” email”
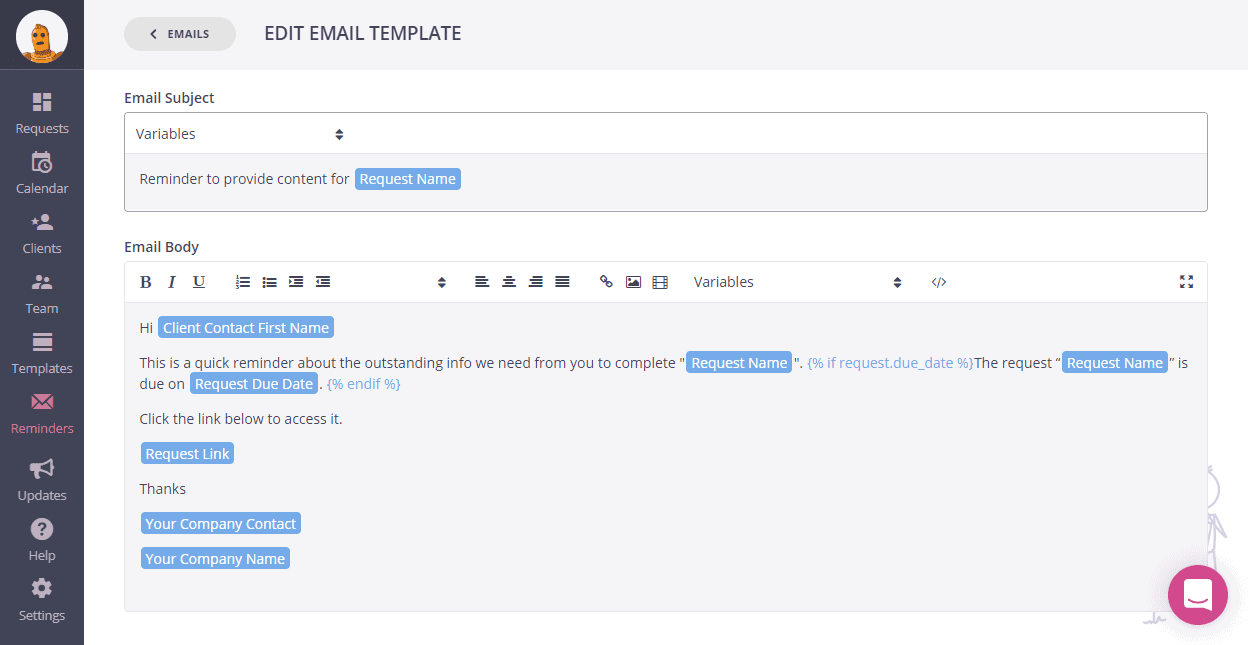
To edit the actual emails, move back one screen and navigate the “Email templates” at the top of the screen. Click on a template to change the wording to suit your language. You can include placeholders for the tenant’s name, request name etc.
Setting up recurring inspections
If you’d like to set up the same property self-inspection to go to your clients each month, this can be done through Zapier.
Contact us to find out more about this.
Exporting reports
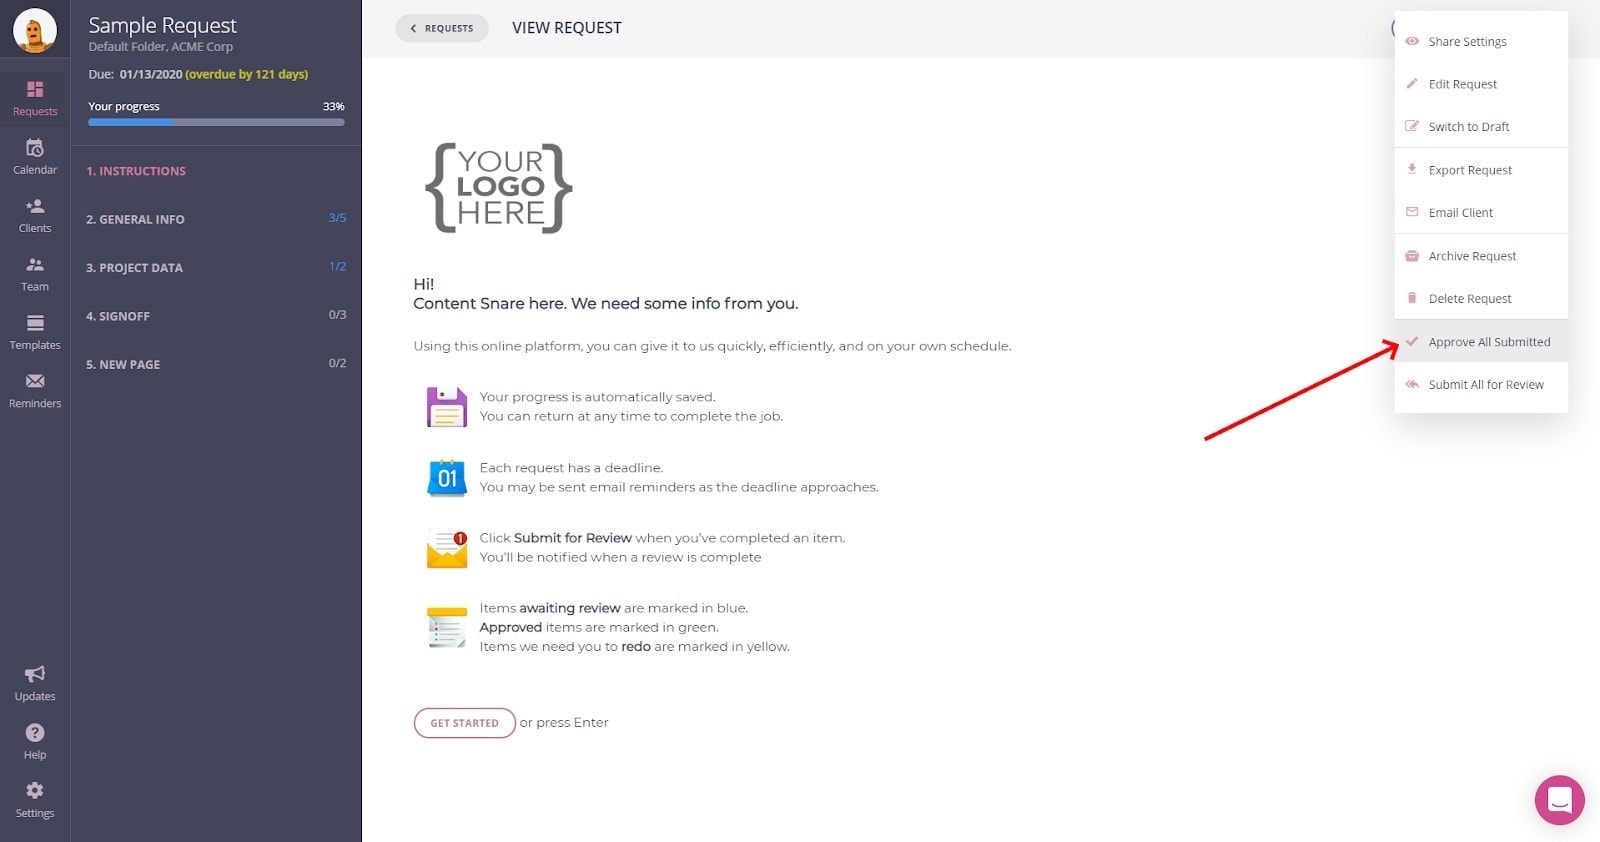
To export the data your tenant has submitted along with all photos, you can download everything in one go when the inspection has been completed.
First, make sure that all questions are completed. If you are satisfied with what they have provided, when you view the request you can opt to mark all fields completed. Then approve all submitted answers, and the download button will appear.
You can access these options at the top right when viewing a request.
Get started
To begin sending remote rental property self-inspections to your tenants, sign up for your 14 day free trial of Content Snare.
Reach out to us using the pink chat icon inside the app if you have any questions or need help getting set up.